Recommended Sites


Archive for August 27th, 2018
Polar Lights Models: Klingon K’t’inga buildup process Pt.7
Continuing our series of guest blogs covering our brand-new STAR TREK: The Motion Picture 1:350 Klingon K’t’inga model kit…
Finishing, The Final Frontier.
James Small, www.smallartworks.ca
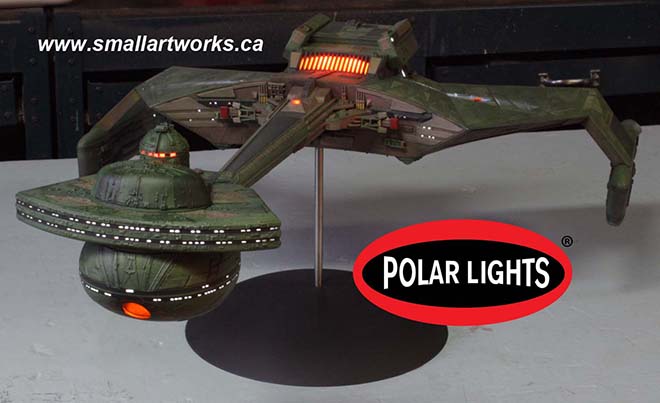
Not really much to tell on this post, the last of the series on building the K’Tinga from Polar Lights, Round 2. The pictures pretty much speak for themselves. After all the main colour coats were done, it was time to weather the model, doing so with a dark green wash to tie the colours together, some airbrushing with a tiny hint of black scorching and streaks of zinc chromate. Then the decals were applied. Normally one would say you should apply the decals BEFORE weathering but in this case the decals are small and I didn’t want them to be obscured, lest the low lighting conditions used for the photography would lose the markings altogether.
The decals were test prints sent to me by Jamie in slightly past the “nick of time” we would have liked, but they worked out really well. The only challenging decals to apply are the set of four that make up the big Klingon symbol on the bottom of the ship. When you do this as you finish your kit, make sure you take your time planning them out, and they will need a lot of coaxing and setting solution. The front “splash” surrounding the torpedo tube had not been printed at that time, so I had to spray that one on from scratch by first masking off the area, spraying on some gold and then following up with a touch of clear orange to match the colour seen on the Klingon symbols.
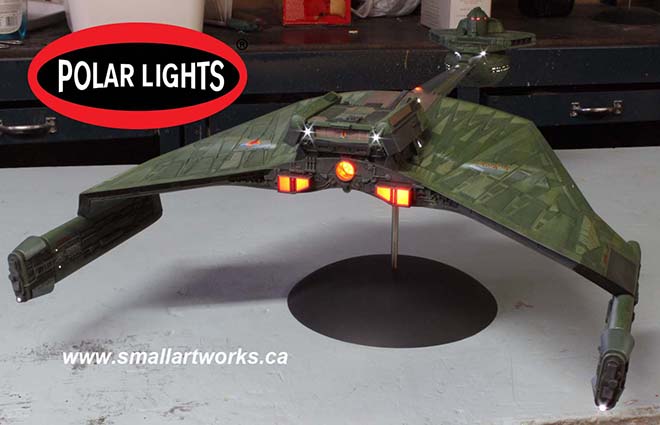
After all this was done, the model was finally finished and I began what would end up being one of the most challenging photo shoots I’d yet done for a model. It took me a full day to figure out the right balances of exposure, aperture for depth of field and lighting so it would all look wonderful on the box art. We also wanted to try to match the ominous look of the ship as seen in the film itself yet see all the details and retain proper colour balance. I had multiple light set-ups, bouncing light off the ceiling, walls, floor, some direct and some indirect, lights on stands, some attached to the ceiling, some on the floor across the room… it was a lot more complex than one might imagine for such a shoot and required a lot of time to figure out to get just the right look. Then I spent another day or two actually taking the shots. I took many dozens of shots testing it all before I could get it to look right. Because the model is so dark and required such long exposures at high resolution, microvibrations in the floor (even though concrete), in the air, whatever, maybe in the camera itself for all I know, made the camera move JUST enough to blur the image slightly. I also discovered that really long time exposures make a digital camera’s dead pixels (all digital cameras get them after even a short time of use, it’s a disease like tooth decay) really stand out like a klaxon! To account for the blurring, I had to do faster exposures with a wider aperture, and then stack shots so they could be stitched together by Jamie in Photoshop to cheat the depth of field. These challenges were exacerbated by the fact that I don’t really have professional photographic equipment, namely a more expensive camera (the Canon Rebel I have is a good camera but is after all, consumer grade) and a good solid tripod. Really good tripods that eliminate the slightest vibrations can cost a lot of money. Also, Jamie had very specific angles in mind for each shot, so it would follow his box art layout, and that took considerable time in some cases to set up and line up as well.
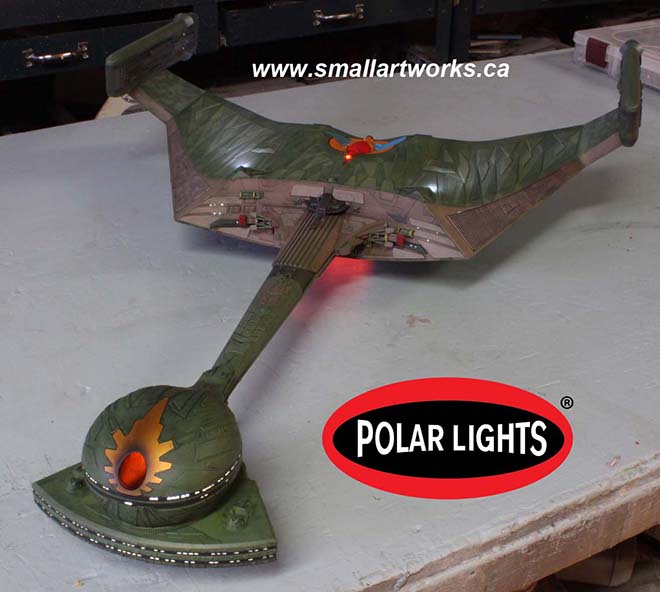
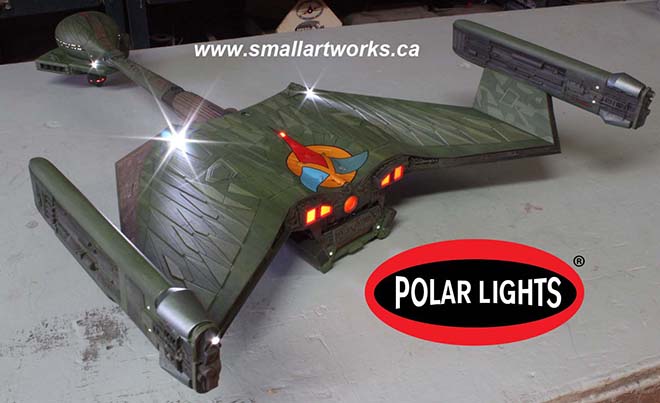
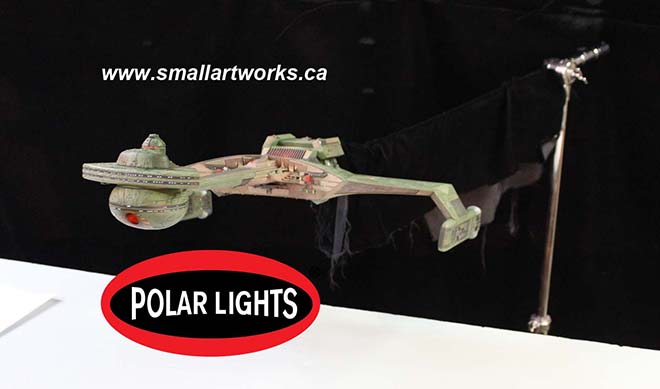
The build took far too long to do (I still have to paint the other two but I’m taking a short break from them to do something else for a while as I’m all K’Tinga’d out right now), the pix were done, the box art under way. I therefore present to you here and now the very first look (no, these are NOT the pictures used for the box art!) at the completed new 24” long K’Tinga kit which is right up there with the most comprehensive, most accurate sci-fi model kits on the market today!
We’ve tangled with solvents, paint and plastic. Now… it’s Chardonnay time. Cheers!
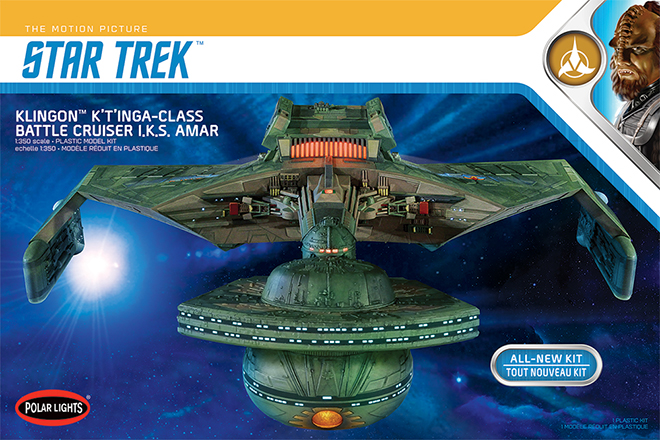
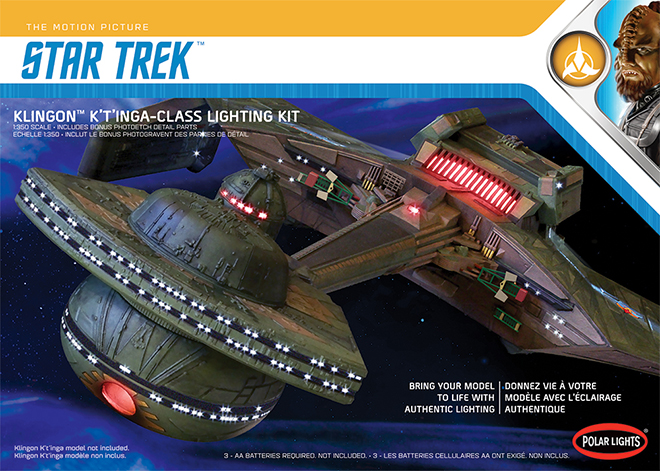
And as a special bonus, here is a look at the box faces for both the kit and the light kit!