Recommended Sites


Archive for June, 2013
The 4-H model – Finishing
Ensure that all paint and glue on your model is perfectly dry. It is good practice to start applying decals the day after you finish assembly and painting. Ensure also that your model is free of contaminants and dust, so nothing may be trapped underneath a decal.
Cut out all the decals you wish to apply with a sharp knife. It is not necessary to cut out the decals perfectly; rather you should leave a few millimeters around each decal to avoid cutting it accidentally.
Fill a bowl or shallow cup with warm water. The water should be at least lukewarm to remove the decals from the paper they are printed on, but not scalding hot. Never use boiling water to apply decals.
Hold the paper the decals are printed on with a pair of tweezers. Make sure you are not gripping a part of the decal itself under the tweezers.
We actually held the paper next to the car and gently slid the graphic onto the car. It is helpful if you get the car wet prior to sliding the graphic to help in positioning it. This will allow you a few seconds to slide the image into the place you want it.
Hold the paper the decal is printed on close to the part you are applying the decal to. The edge of the paper must be lying on the edge of the part, so the decal is transferred immediately from paper to part. Using a clean, wet brush, maneuver the decal onto the part and position it accordingly. Ensure that all air bubbles and creases are removed from the decal by pushing them out with the brush.
Dry the decal by very gently by dabbing it with a clean paper towel. The decal should be left alone for an hour to allow it to dry completely. Until then, it may be accidentally repositioned. To reposition a partially dry decal, simply apply some warm water with the brush and maneuver it back into position.
A few things we have learned…
- Remember that whatever paint-removing solvent you use, it must not harm plastic.
We do have a minor issue under the car where the solvent degraded the plastic a little,but it is underneath…
- Keep all empty sprues when you have finished assembly. They are useful for stirring paint, or making tools that won’t scratch the model you are working on.
These are also helpful for applying glue and you can throw them away when done.
- Keep all unused decals. You may later find them useful for other models.
- Some parts are more easily painted while left on the sprue.This is true particularly of very small parts for the engine. He chose to leave some the original color and chrome but that is an artistic choice.
- A torn decal is not useless. Careful positioning of the damaged portions can restore the decal to a whole appearance.This is where wetting the model can be handy and allow you to slide the decal into position.
- If your paint is too thick to feed through the airbrush, try diluting it with a small amount of rubbing alcohol. The alcohol thins the paint while it is in the airbrush, but evaporates soon after leaving it.
- When applying solvents, paints and glues, do so in a well-ventilated area. Observe all warnings and instructions printed on all your materials and tools.
- Knives and other sharp tools must be handled by experienced and responsible persons only.
- Small parts may pose a choking hazard to small children and animals.
Polar Lights Models: Thor box art
Although we just announced our upcoming Marvel Comics Thor model kit recently at Wonderfest, the kit has been in the works for some time. The Thor box art was just turned in this past week, so we figured we would show off a preview.
The first step in starting a kit like this is getting control drawings or turnaround drawings done of the model so that we can get the idea of the kit submitted to the licensor and also supply a clear vision of the kit to the sculptor. I did the drawings myself for the Wolverine kit. (I just couldn’t let the opportunity pass me by) I wasn’t quite as attached to Thor as a character. He has always been around as one of the key characters in the Marvel universe and an Avenger of course. My heart was always with the X-Men though. I knew what he was all about, knew his background and powers etc., but I wasn’t sure about the details and idiosyncrasies of the character. I needed to find someone that I knew I could bounce my overall idea off of and would be able to flesh it out form there. Joe Jusko came to mind. Though he is known as a painter, he had done a few pieces of line art for us for our Captain Action line so I figured I would run the job past him. As it turned out not only was he familiar with the character, he was a huge fan having read the Jack Kirby and John Buscema comics from the “Silver” and “Bronze” age of comics. Not only that, he also had a fondness for the old superhero models that we are all familiar with and was excited by the opportunity to turn one of his favorite characters into a kit.

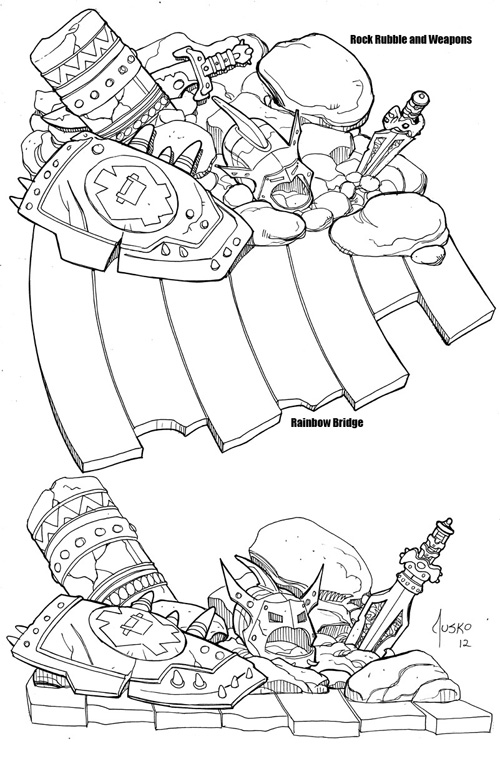
So, I explained my idea of trying to translate one of Kirby’s classic poses into a kit that would feature a modern, realistic but stylized sensibility. The one thing I was hung up on was what to do for the base. I like a figure to tell a story similar to the old Spider-man kit. Joe suggested a broken rainbow bridge along with some rubble and Thor-centric accouterments. As long as we could make sense of the goofy-footed Kirby-esque stance I was up for anything. He came back with an awesome drawing of everything we had discussed. I had to plan on editing it down a bit due to concerns for the cost, but for the most part, it was exactly what we needed.
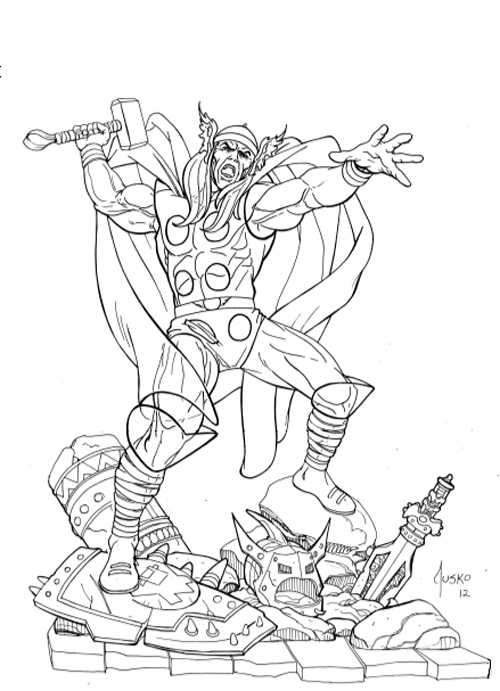
Of course Joe’s next question was “any chance I could do the box art?” After some quick negotiations, we were able to come to terms to allow him to do just that. The exact pose he had drawn actually fit our established figure box layout quite well. So we decided to just keep working with that angle. The question then became, “Okay, what’s in the background?” Of course the remainder of the rainbow bridge and Asgaard of course, but I threw a bit of a monkey wrench into the works when I brought up the idea of the box turn reveal of a bad guy. I had used the same approach for the MPC Hulk & Spider-man kits and in a more overt way on Wolverine. Joe figured out a way to incorporate a fallen storm giant. Again, I trusted the Thor fans intuition and let him run with it.
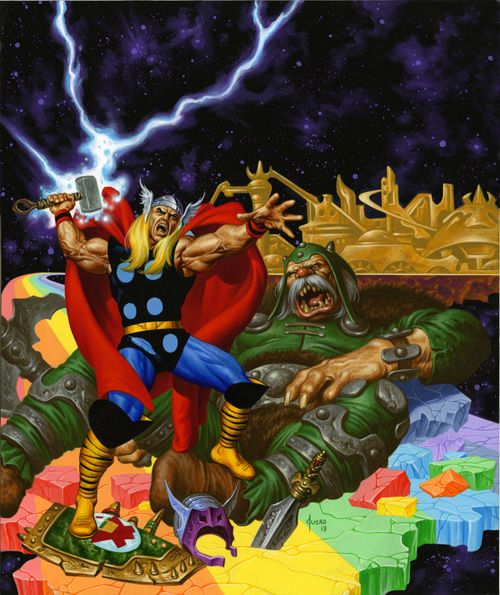
I think the end result turned out great and I was glad to have such an established and respected artist like Joe. I also feel fortunate to have found that he was a true Thor fan and was able to contribute to a kit of one of his favorite characters.
All images subject to licensor approval.
The 4-H Car ….Assembly
- Before gluing parts together, always ensure that the contact points are clean and that the parts fit well. When applying the plastic cement, only apply to one of the parts. An excessive amount of plastic cement will not only prolong or prevent proper adhesion, but may also melt and deform the parts. Plastic cement must always be used as conservatively as possible. When gluing clear parts, such as windows or canopies, try to avoid plastic cement. This is because plastic cement can “fog” clear plastic even in areas where not directly applied. For clear parts, use white glue.
- Gaps between parts may become apparent after assembly. To remove a gap that is too large to overlook, it may become necessary to separate the parts, adjust their fit, and re-adhere. Another option is to fill the gap with modeling putty, or another substance which dries to hardness and can be smoothed and painted over. When applying putty, only the smallest amount is required. An excessive amount will be difficult to remove later and in the case of clear parts, may be impossible to remove without evident damage to the part beneath. Follow the instructions on the packaging and use a plastic tool to apply the putty, so as not to scratch the model.
- If an assembled part is not adhering properly in some places, it may not be necessary to separate the parts and re-adhere. Another option is to use a liquid plastic cement to re-adhere the parts. By applying a small amount of liquid glue to the outside of the gap, the glue is drawn into the gap by capillary action. It is important not to apply too much glue, for the reasons above, but also because too much glue may remain outside the gap and dry to hard, malformed bubbles. In general, less than a drop will suffice. When the glue has been applied, hold the parts firmly together until proper adhesion is assured.
Once two parts are glued together, it may be necessary to clamp them together until the glue sets. This may be done by holding the two parts firmly together with your hands, but you may also use a variety of tools to do the same job. Elastic bands, clothespins, plastic clamps, tape, and wire are all suitable materials. When applying the clamps, make sure that the pressure exerted on the parts is great enough to keep the parts together, but not nearly enough to deform or break them. Also make sure that whatever clamp you choose to use will not scratch the plastic.
Whether you are a competitive modeler (contest, 4-H, Boy Scouts, etc…) or building for fun the following links offer some great tips and tricks to help you.
http://www.ndsu.edu/fileadmin/4h/FamilyConsumerScience/FE101.pdf
http://www.scaleautomag.com/
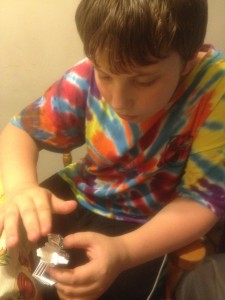
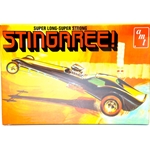
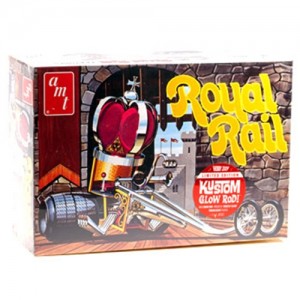
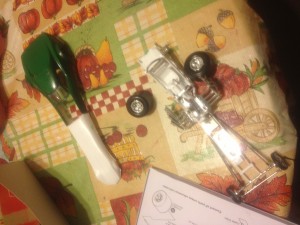
Here we are assembling the engine. He used most of the parts from the Stingaree model, he choose to use use the larger exhaust headers found in the Royal Rail model to customize this model. Here he is trying to hold them in place while they dry.