Recommended Sites


Archive for June 14th, 2019
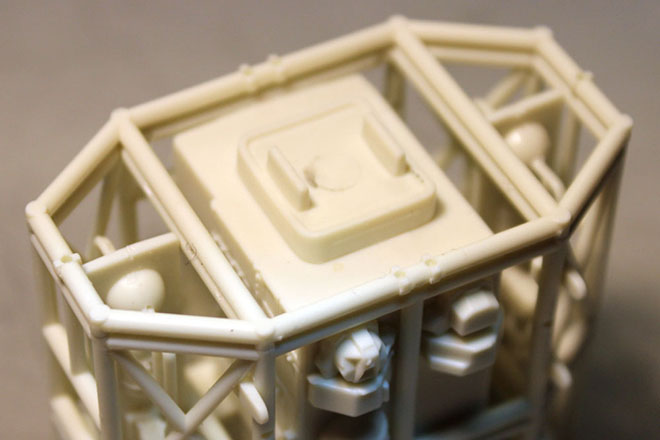
Space: 1999 Models: New 1/72 scale Eagle kit Pt. 4
Continuing our guest series reviewing the new 1/72 Eagle test shots. Enjoy!
Getting Cagey About This Build.
By E. James Small
Here we go again folks. Another update on the 1/72 scale Eagle build.
This one is pretty simple despite the complicated way I’m describing it. Just showing my personal recommendations of the building sequence for the cages on the model. In my opinion this is the best way.
Procedure is the same for both end cages of the model.
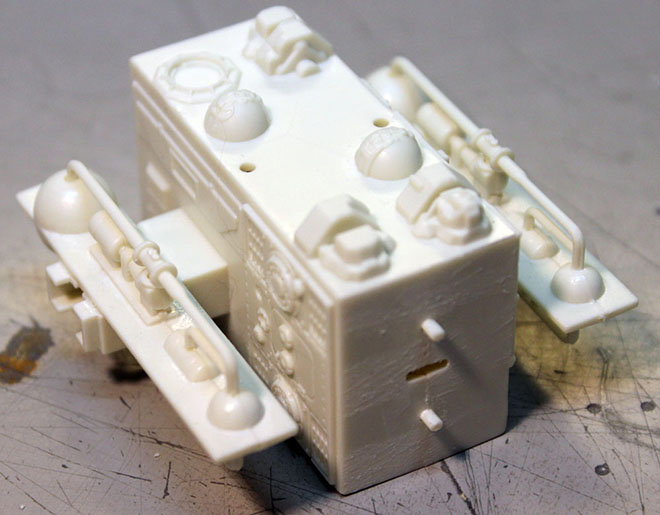
First, assemble the 4-part companionway “box” sections with doors and 2-part shelves. Make sure you get the roof oriented front to rear as shown and door oriented properly top and bottom!!!When you glue on the shelves, make sure you get them as close as possible to the box structure and make sure they are dead on parallel with it to make sure the rest of the cage frame structure will glue properly in place.
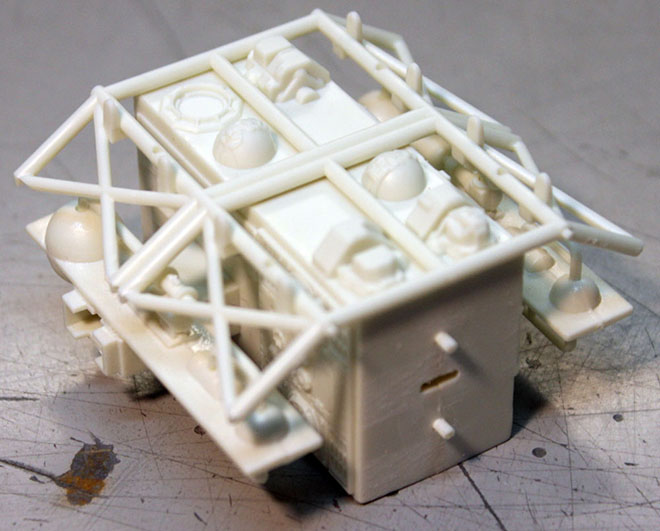
Next, glue on the TOP cage structure as shown. Make sure it all stays perfectly parallel. Make sure you glue it on the right way ‘round too! Note that the little locator pins on the end of the longitudinal pipes go to the same end as the slotted end of the box, opposite the doorway as shown!
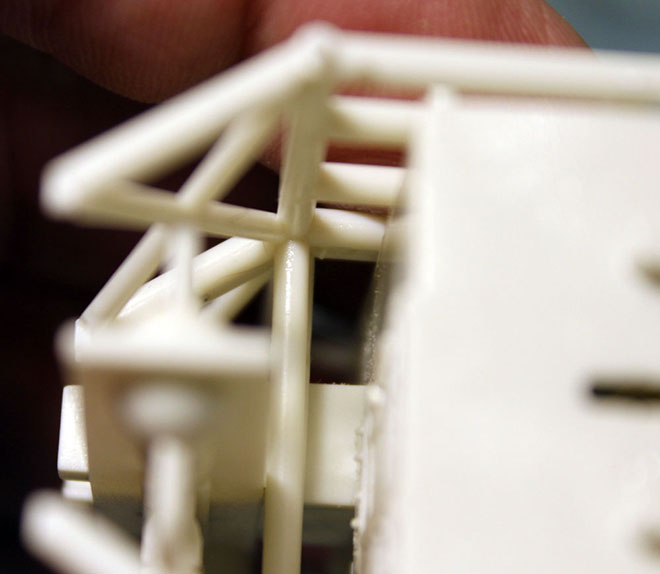
Next get the notched uprights on either side of the boxes as shown and glue the ends ONLY to the top cage section. Tweezers or fine pliers will help a lot in this operation. Make sure the notched sections of the pipe go flat against the shoulder pod plug-in sections as shown by the arrows but don’t glue the flats in place yet!

Glue the non-notched uprights next to them.
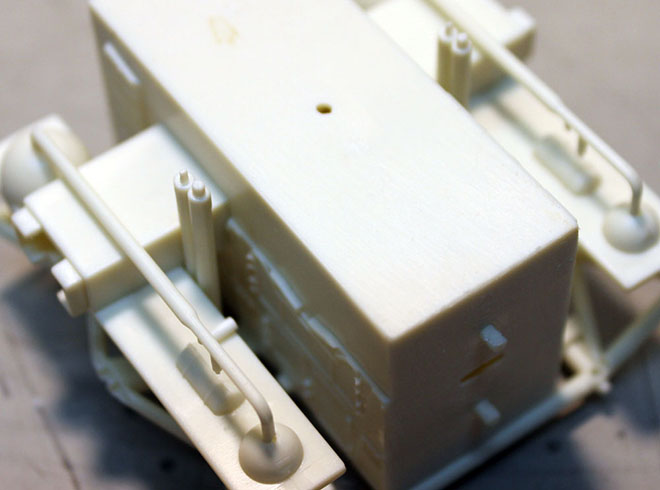
Next, you will carefully orient the bottom cage section (pay attention to those longitudinal pipe end pins again!) and line up the ends of those pipes to the holes and glue in place at those joints only. Yes, it’s a little sloppy right now and things can still move but that’s what we want at this point. We want to allow for a bit of movement until we get the side frames in place as this will assure proper alignment.
Next glue the end uprights in place by carefully flexing the top and bottom frames to allow the pins to be inserted.
Now you can glue the side frames to the top and bottom frames. Once those are in place and carefully aligned you can use a long brush and liquid cement to glue the rest (flats on uprights and bottom frames to boxes) in place.
Lastly you can glue the front octagonal frame and nosecone mount in place.
You can test fit it of course, and it is recommended before the frame glue dries, but DO NOT glue on the REAR octagonal engine frame yet! You will need that separate for when you build the engine section. That frame will be put in place only after the engine section is built! More to follow….