Recommended Sites


Posts Tagged ‘1/72’
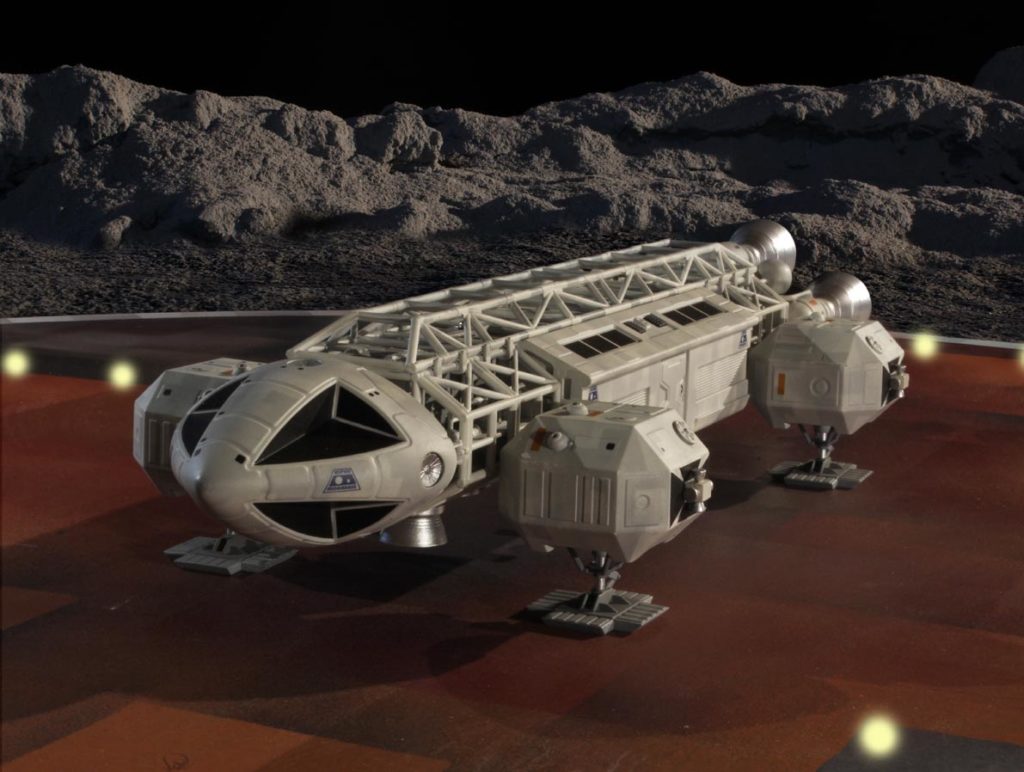
Space: 1999 Models: New 1/72 scale Eagle kit Pt. 7
This post finishes up the preview look at our new 1/72 Eagle kit. As things stand now, we have gone through three rounds of test shot refinement, the box art is done and production will begin soon. The kits are on track to be in the market in November.
Paint: The Final Frontier
Oops! Wrong show. Carry on.
By E. James Small
First, I apologize to readers for finishing this up so late. Life and other jobs took priority so I just couldn’t put it to mind until those chores were done. Anyway, we continue with where we left off.
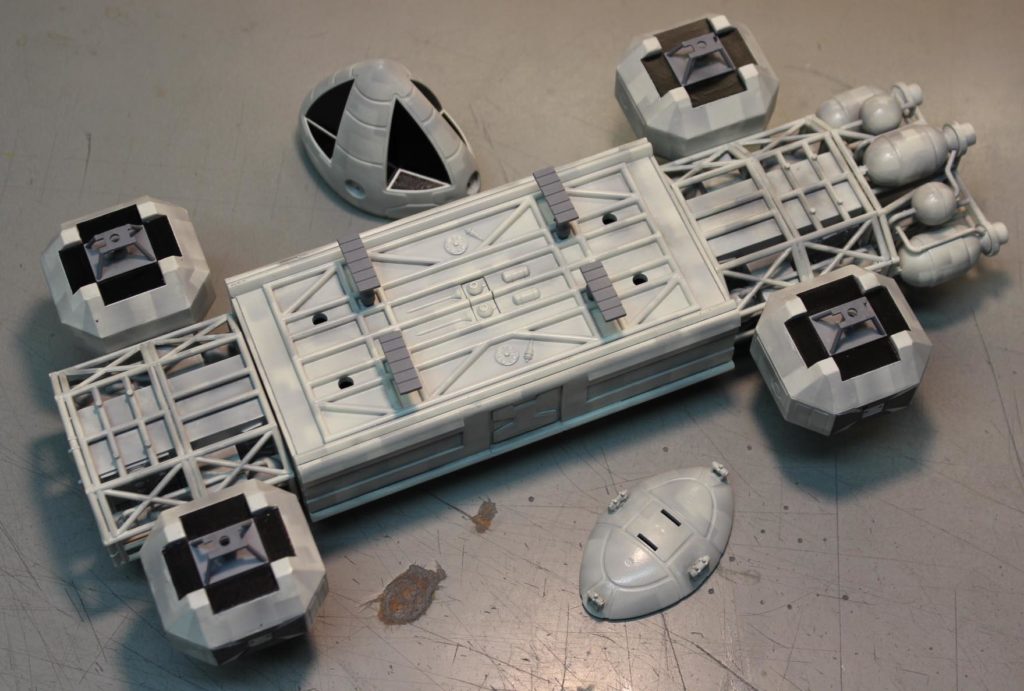
After all sub assemblies are done it is time to paint the model.
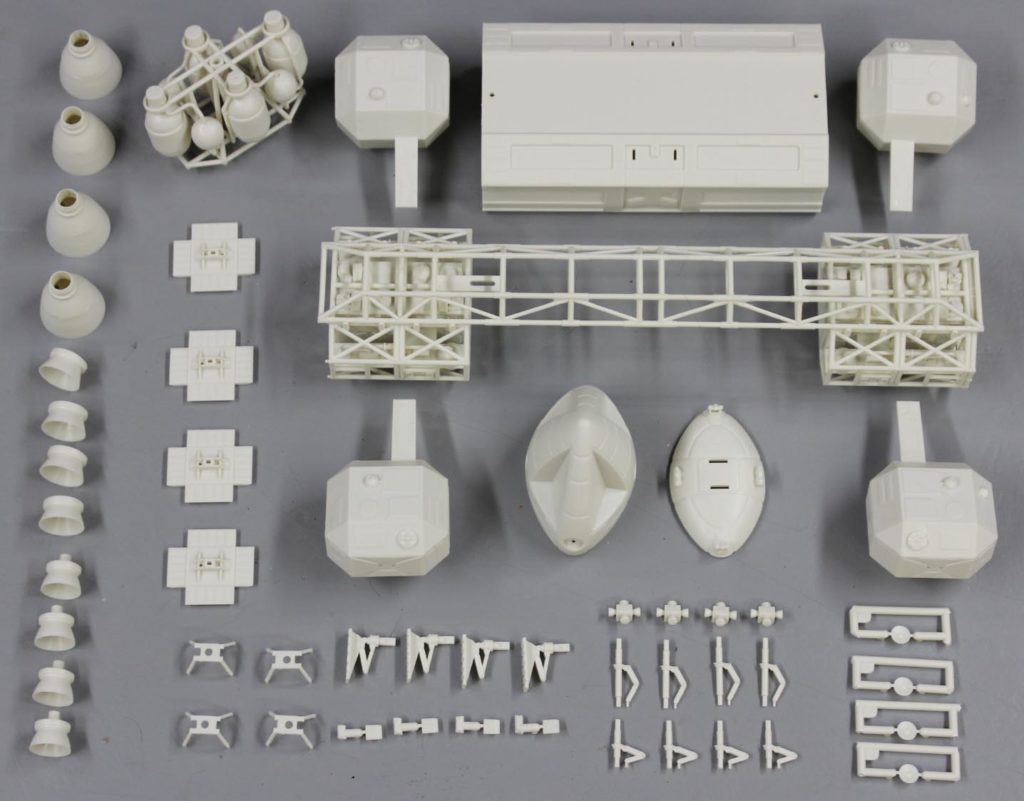
I first used gray primer to paint all parts, straight from the
rattle-can. Then when the gray primer was dry I primed it again with
white. Why two primer coats? First, the gray primer is much more opaque
than white primer is. And primer is much less physically thick than the colour
coat. By priming it first with gray to knock back the translucency of the
plastic and then putting white (which covers better than colour coat) over
that, it makes it possible to use a lot less of the main white colour coat.
The off-white colour coat was then sprayed over the white primer. I like to use
automotive lacquer when I can because it dries very fast, is very tough, and
goes on less thick and less likely to run than enamels or most acrylics or
alkyds. When lacquer dries, most of the carrier evaporates and the paint
pigment hugs the details very well.
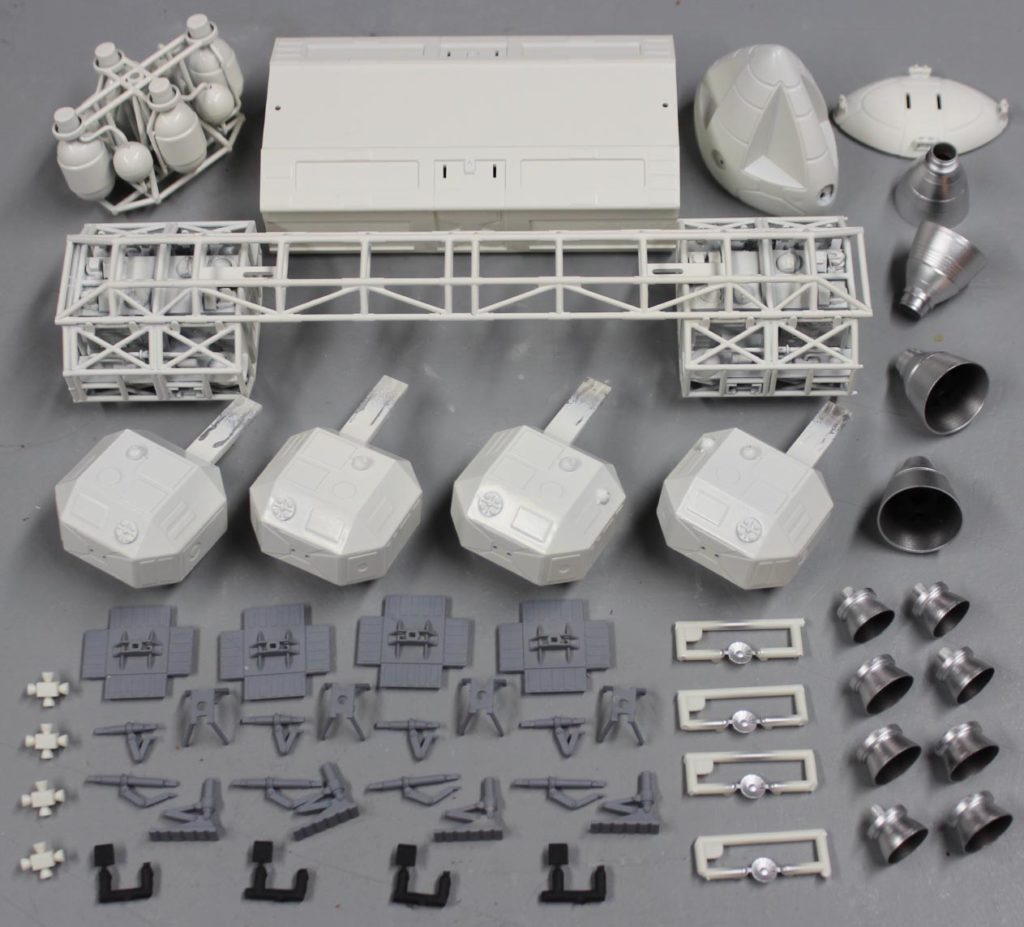
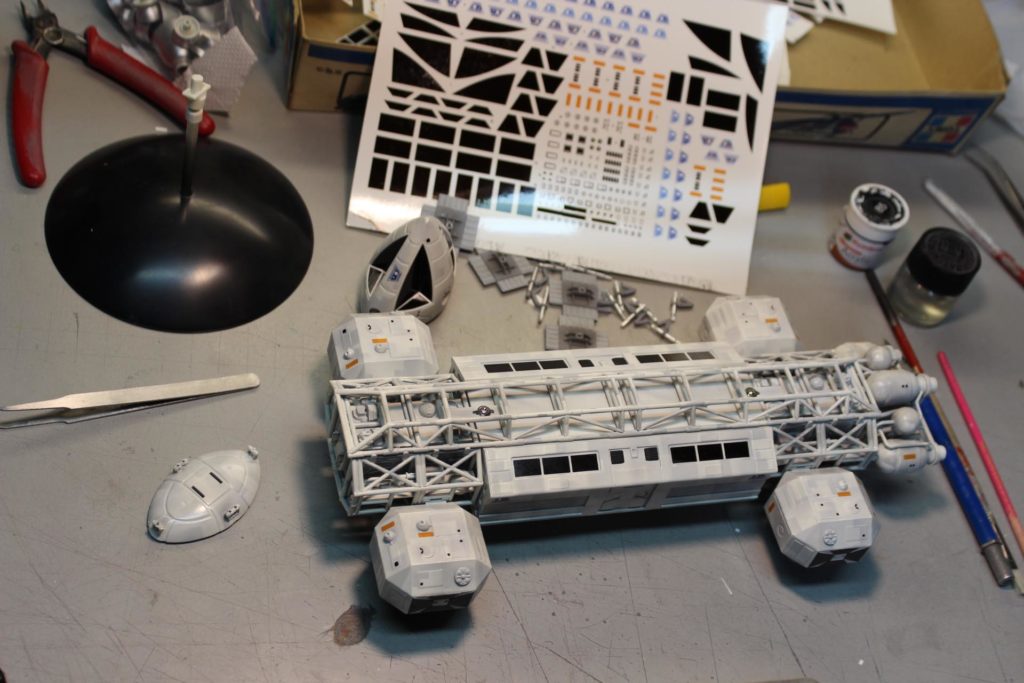
Details were either left in primer gray or sprayed black and silver as shown.
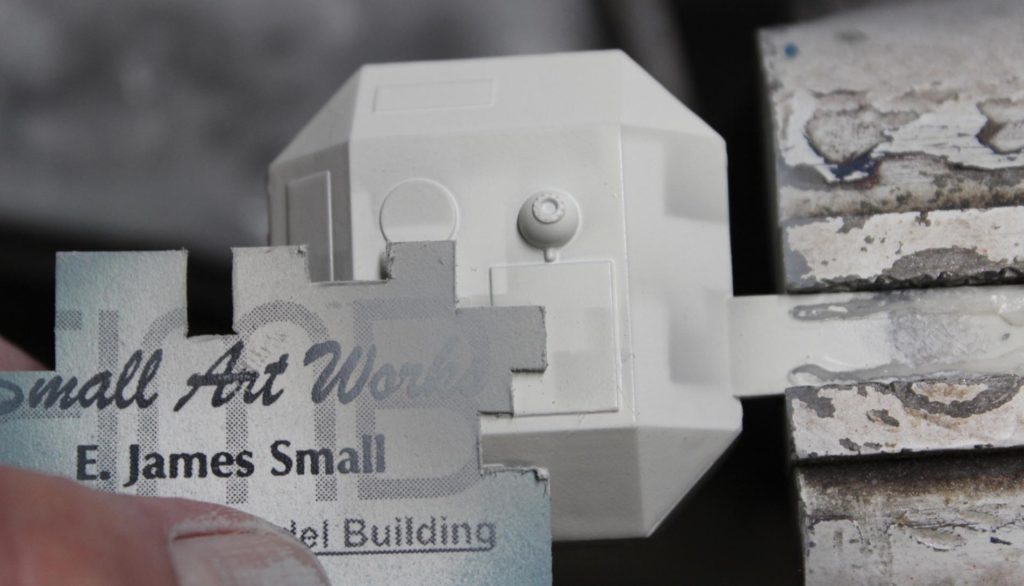
Weathering was done by first cutting chunks from an old business card and using it as a soft mask to airbrush light gray paneling effects over the entire model. This method is very fast, easy and looks authentic because they often used this technique on the original studio miniatures as well.
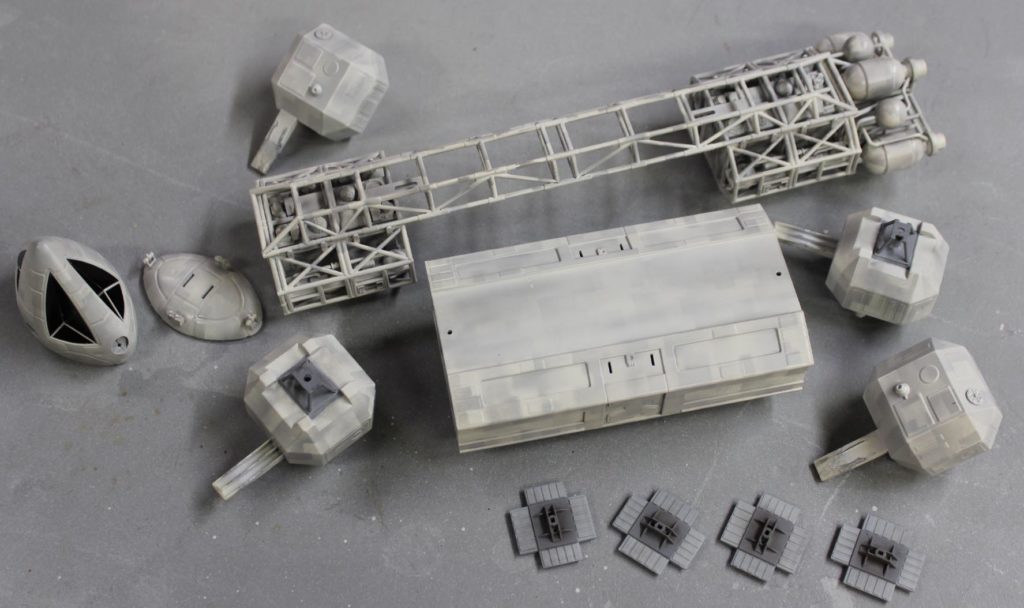
Further weathering was done by dusting some black powder paint over the model then wiping or blowing off the excess. Black powder paint is gray unless you add water to it. This allows the details to pop a little more.
Now it’s time to paint the details and add decals.
The landing gear oleos’ silver struts were just hand painted.
Those of you who need more attention to detail and more time to spare would do
well to cover those struts with Bare Metal Foil for an even better appearance.
The landing feet “toes” were dusted with a lighter gray. Since the actual kit
decals had not been done yet, I printed a set myself by using scaled down ones
from the previously released 22” Eagle also available from MPC/Round 2. I find
that using “Future” floor coating applied to the model just before the decal is
applied gets rid of a lot of silvering and saves having to spray the entire
model with a gloss coat, as decals never work well over matte surfaces. The
Future blends the decals into the surface. Just apply the Future to the surface
a few seconds before you apply the decals.
Finally the entire model, minus the silver bits, was sprayed with dull coat.
Here are all the painting products I used to finish the model.
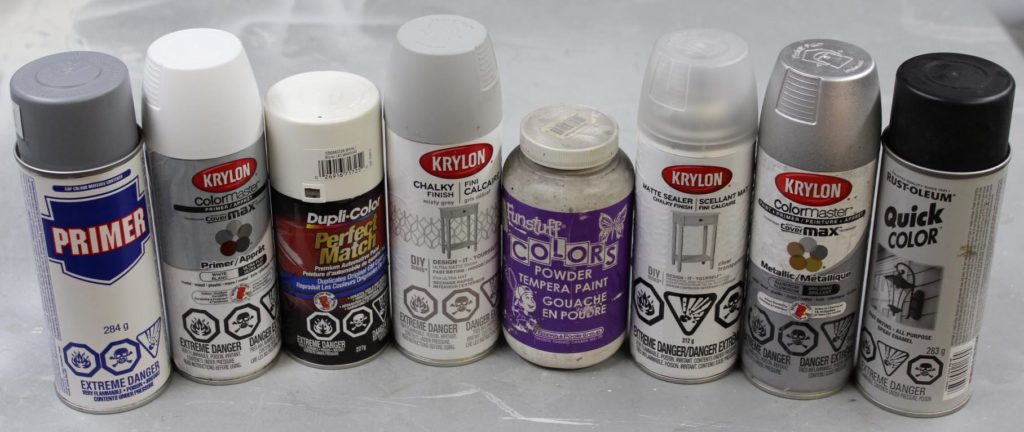
Left to right: Generic Canadian Tire gray primer, Krylon white primer, Dupli-Color off-white automotive lacquer, Krylon Chalky Finish Misty Grey (for the airbrushed weathering), black powder paint for weathering, Krylon Chalky Finish Matte Sealer for the overall finishing dull coat, Krylon silver for the engines and finally Rust-Oleum Quick Color flat black for airbrushing inside the engine bells.
Why use spray cans instead of hobby paints, you ask? Because of the expense, mainly, and convenience. There are no hobby shops near me and spray cans like these are readily available at local hardware stores. Also you get a lot more paint for the money with spray cans and at the rate I go through paint it would cost me a fortune in hobby paints for my work. I do have a stash of hobby paints that I have collected over the last few decades (usually Tamiya, with some Testors and others) used mostly for small detail brush work.
Then came the photography of the model for the box art once the painting was all done. Jamie Hood did a GORGEOUS painting (Wait ‘til you see it!) for the main box art but we needed pictures of the model for the rest of the box and tray. Most of it was all just standard stuff shot against a black velvet backdrop but I wanted a “hero” type shot showing an environment for the main box tray picture. Jamie picked out a shot from the show itself that had the angle he wanted, so I just more-or-less copied that shot using the 14” model in place of the original 44” VFX miniature. I painted up a quick and dirty partial launch pad to scale from an old board I had laying around for the model to sit on so that shadows cast onto it would look natural. That was better than just Photoshopping the model onto a digital background. Besides, even though this was to be a manipulated shot and a composite, I wanted to use real physical elements wherever possible. Real objects always look better than computer generated ones. Knowing the angles necessary I didn’t need very much of the pad to show, that’s why it’s mostly unfinished and all chopped up. Took just a few minutes with a couple of spray cans to make.
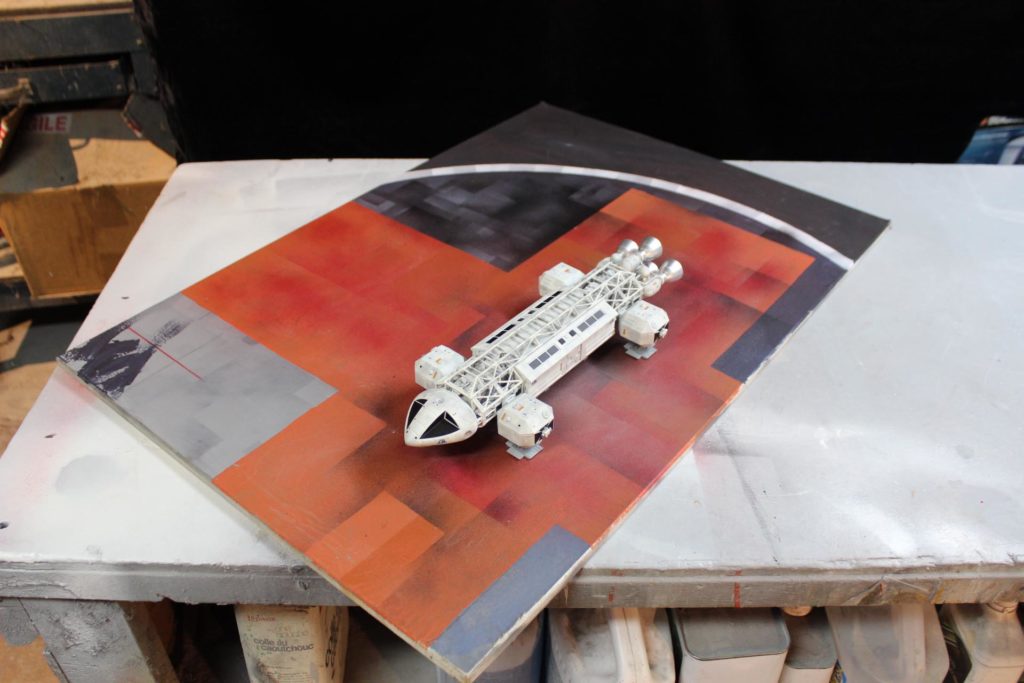
Then when strategically lit to look somewhat dramatic it was photographed then brought into Photoshop where I matted in a background of the Lunar surface using elements I had made from the 22” Eagle Cargo Pod kit box art. The mountains are just bits of foam chunks and tin foil sprayed with gray primer, covered in cement dust for texture and shot up close with appropriate lighting. The mountains are only about 3-5 inches wide or so.
Looks pretty good and reasonably well matches what was seen on screen. Only thing I’m not happy with are the launch pad lights. I didn’t have the time needed to wire in real lights on the pad set so I just digitally plopped those in quick. I’m not the artist in Photoshop that Jamie is though. Maybe he can make them look a lot better by the time he lays out the box art. He can probably improve the entire scene as I did that composite rather quickly, I had other work to get to.
I hope you people out there will enjoy this new kit. It is amazingly well done for its size and has all the external details of the larger 22” model but takes up less space for those of you who don’t have much room to spare. Another fantastic achievement by Jamie and his gang over at Round 2!
We can’t wait to see what you all do with yours!
Jim.
Space: 1999 Models: New 1/72 scale Eagle kit Pt. 4
Continuing our guest series reviewing the new 1/72 Eagle test shots. Enjoy!
Getting Cagey About This Build.
By E. James Small
Here we go again folks. Another update on the 1/72 scale Eagle build.
This one is pretty simple despite the complicated way I’m describing it. Just showing my personal recommendations of the building sequence for the cages on the model. In my opinion this is the best way.
Procedure is the same for both end cages of the model.
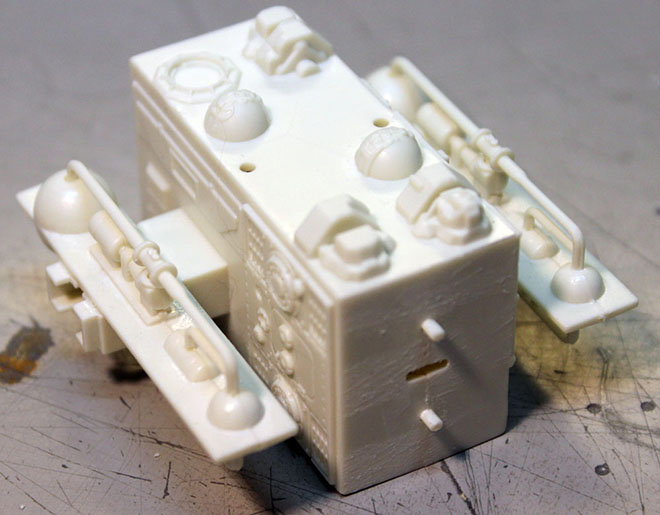
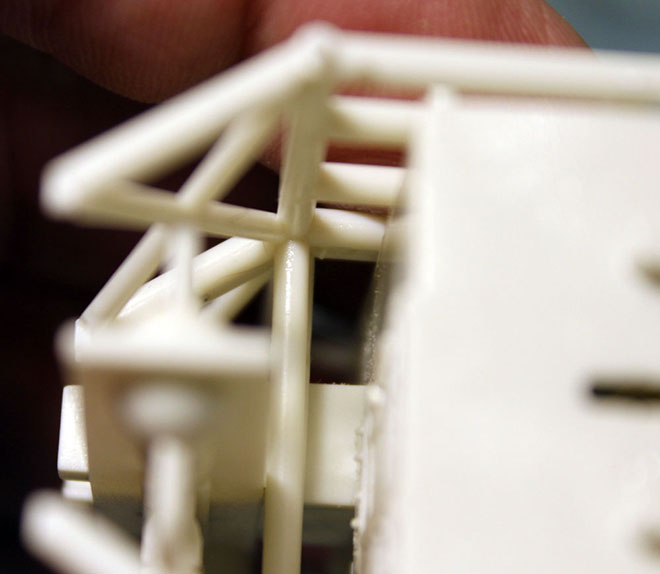
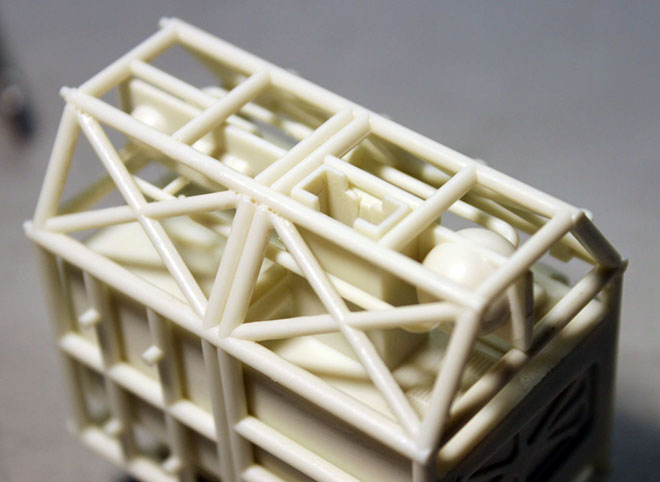
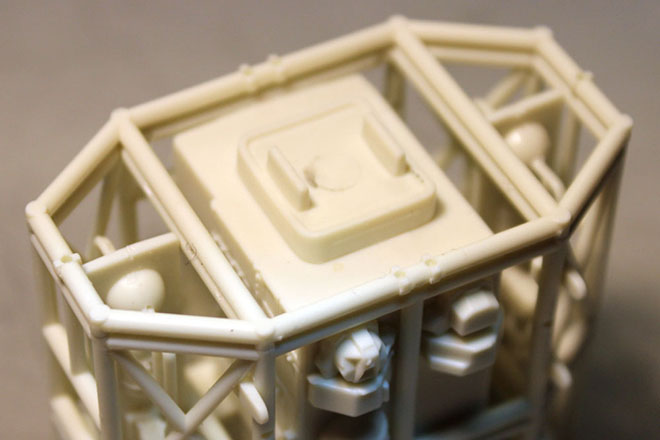
First, assemble the 4-part companionway “box” sections with doors and 2-part shelves. Make sure you get the roof oriented front to rear as shown and door oriented properly top and bottom!!!When you glue on the shelves, make sure you get them as close as possible to the box structure and make sure they are dead on parallel with it to make sure the rest of the cage frame structure will glue properly in place.
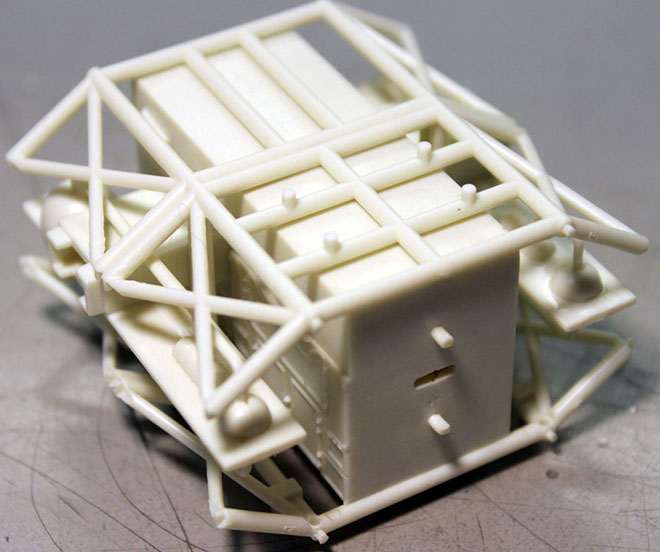
Next, glue on the TOP cage structure as shown. Make sure it all stays perfectly parallel. Make sure you glue it on the right way ‘round too! Note that the little locator pins on the end of the longitudinal pipes go to the same end as the slotted end of the box, opposite the doorway as shown!
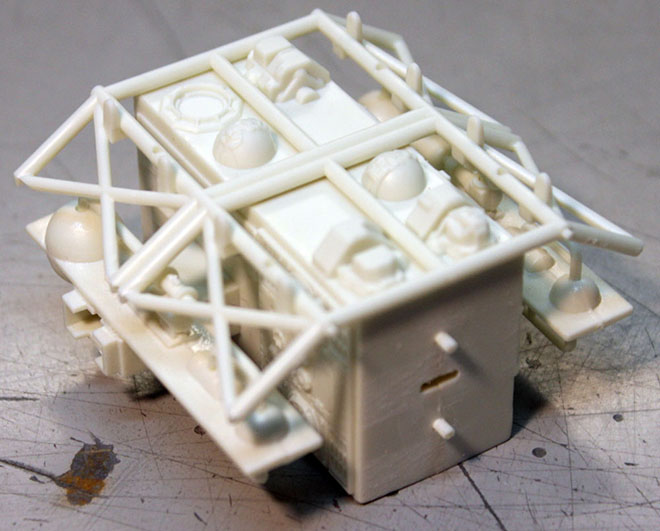
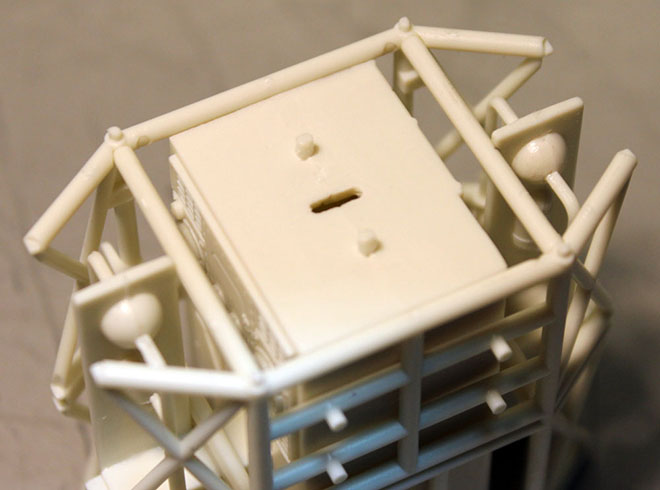
Next get the notched uprights on either side of the boxes as shown and glue the ends ONLY to the top cage section. Tweezers or fine pliers will help a lot in this operation. Make sure the notched sections of the pipe go flat against the shoulder pod plug-in sections as shown by the arrows but don’t glue the flats in place yet!

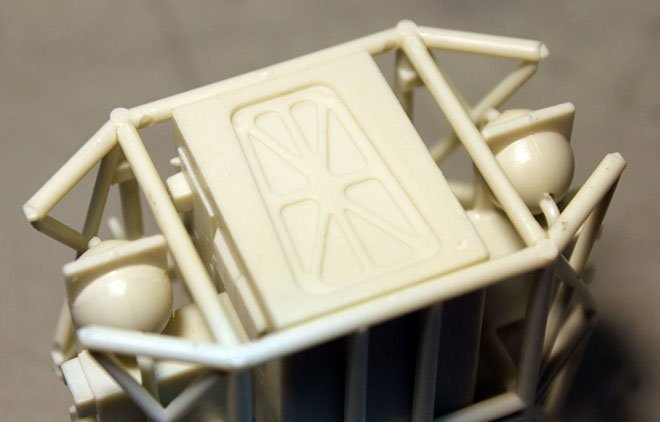
Glue the non-notched uprights next to them.
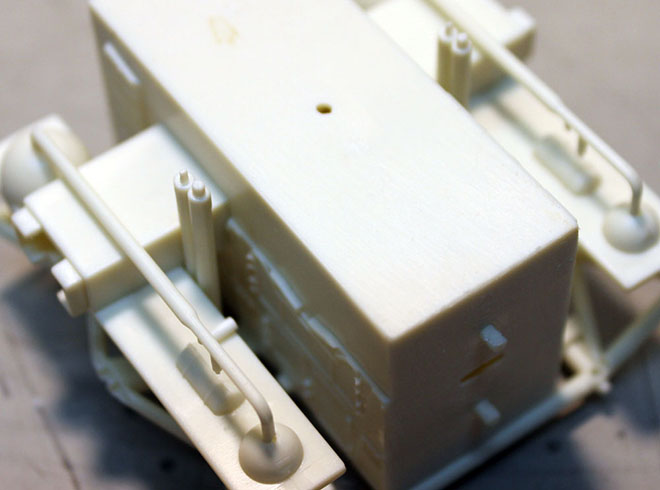
Next, you will carefully orient the bottom cage section (pay attention to those longitudinal pipe end pins again!) and line up the ends of those pipes to the holes and glue in place at those joints only. Yes, it’s a little sloppy right now and things can still move but that’s what we want at this point. We want to allow for a bit of movement until we get the side frames in place as this will assure proper alignment.
Next glue the end uprights in place by carefully flexing the top and bottom frames to allow the pins to be inserted.
Now you can glue the side frames to the top and bottom frames. Once those are in place and carefully aligned you can use a long brush and liquid cement to glue the rest (flats on uprights and bottom frames to boxes) in place.
Lastly you can glue the front octagonal frame and nosecone mount in place.
You can test fit it of course, and it is recommended before the frame glue dries, but DO NOT glue on the REAR octagonal engine frame yet! You will need that separate for when you build the engine section. That frame will be put in place only after the engine section is built! More to follow….