Recommended Sites


The 4-H Project: Cleaning the model
Our first step was to clean all of the parts. Since we learned from our 2012 experience, we knew that for the paint to stick evenly all parts had to be clean. Dust and oil inhibit the adhesion of paints and glues, as well as detract from the final appearance of the model.
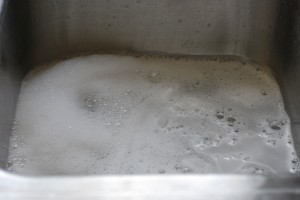
To remove dust and oil, we simply washed the pieces (still on the sprue) with warm water and a very small amount of detergent. We used the sink, however you may also wish to use a shallow basin and a strainer to ensure that you do not lose any small pieces down the drain. We let them soak for several minutes, agitating them occasionally. Taking the pieces out, you can leave them in the strainer to rinse thoroughly, the lay them out on paper towels and dry them thoroughly with a clean paper towel.
Some modelers suggest removing pieces and assembling prior to painting, however out 4-H leader suggests that is all items on a sprue will be the same color, you can paint them while still attached.
Small scissors or shears can be used to remove the parts from their respective sprues. Using a knife to remove parts is difficult, dangerous, and may damage the part. Only when the part is removed may you use a fine knife to remove any flash or excess sprue still attached, this is where we use the small nail clippers they are easy for him to handle alone and less dangerous than the sharp small knife.
Great ideas! Thanks!
We had a minor setback this week as he decided to paint while I was at work – so he has now spent the last 2 days undoing the damage – hoping to move on tonight.