Recommended Sites


Archive for December 12th, 2012
Polar Lights model kits: Clawing our way to the top
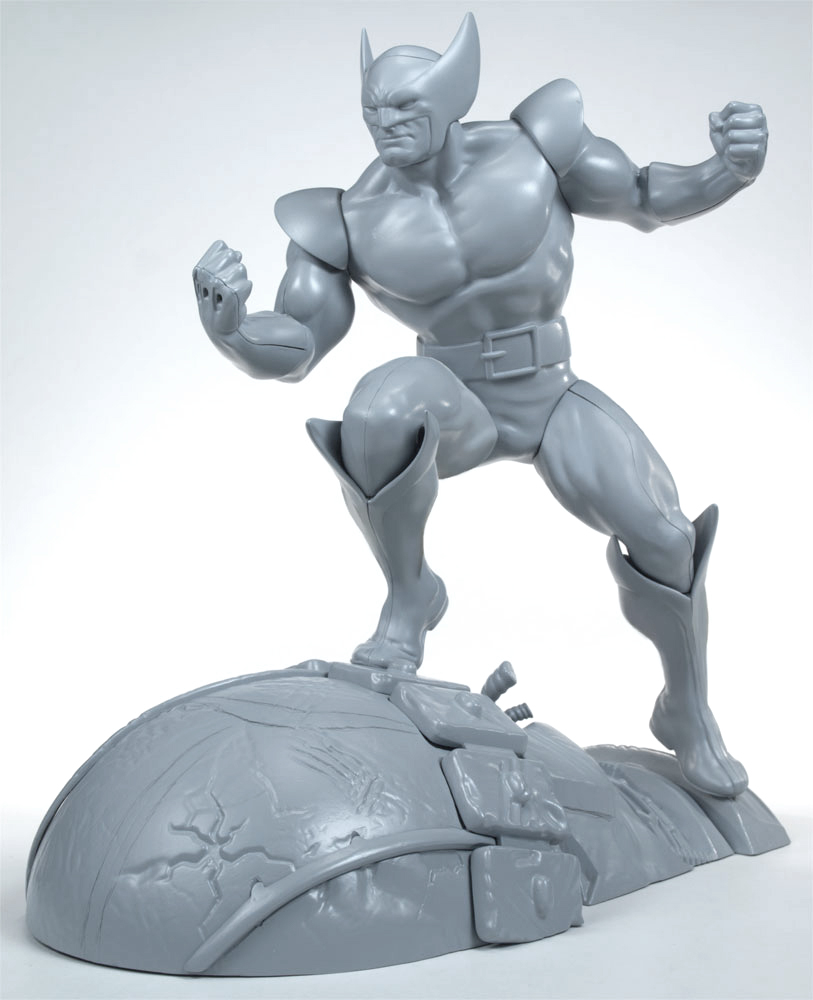
A few months back I showed the initial sculpts for our upcoming Marvel Comics Wolverine model kit. That covered the digital work done to create the basis of the model. This report shows the next steps- the factory digital file work and mockup of the kit parts.
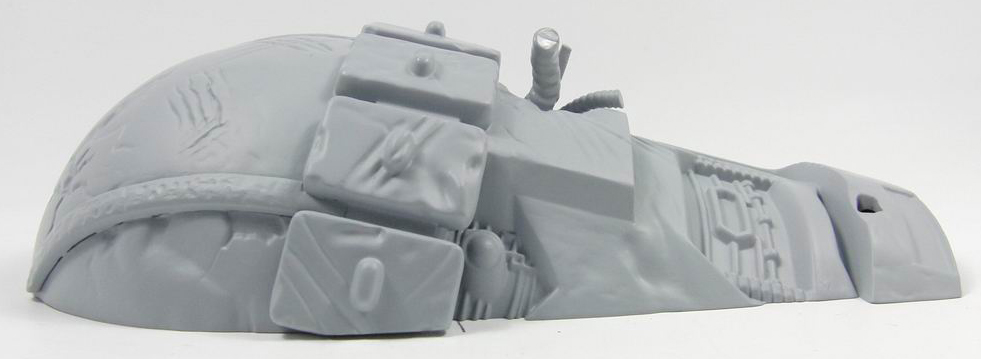
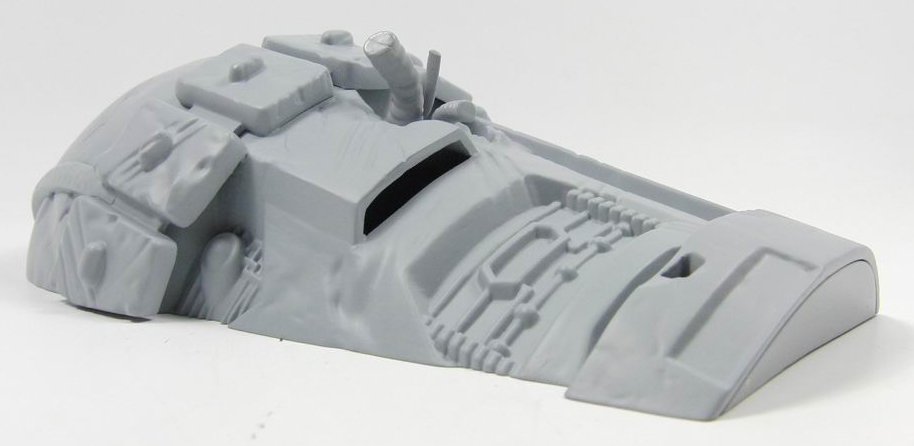
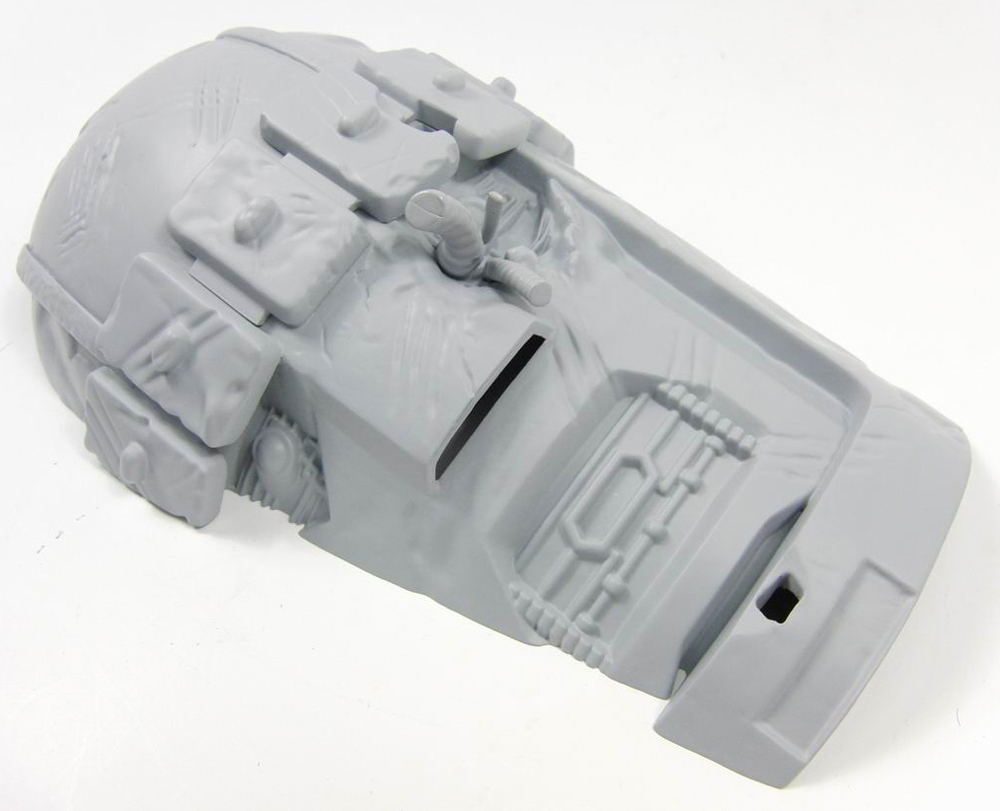
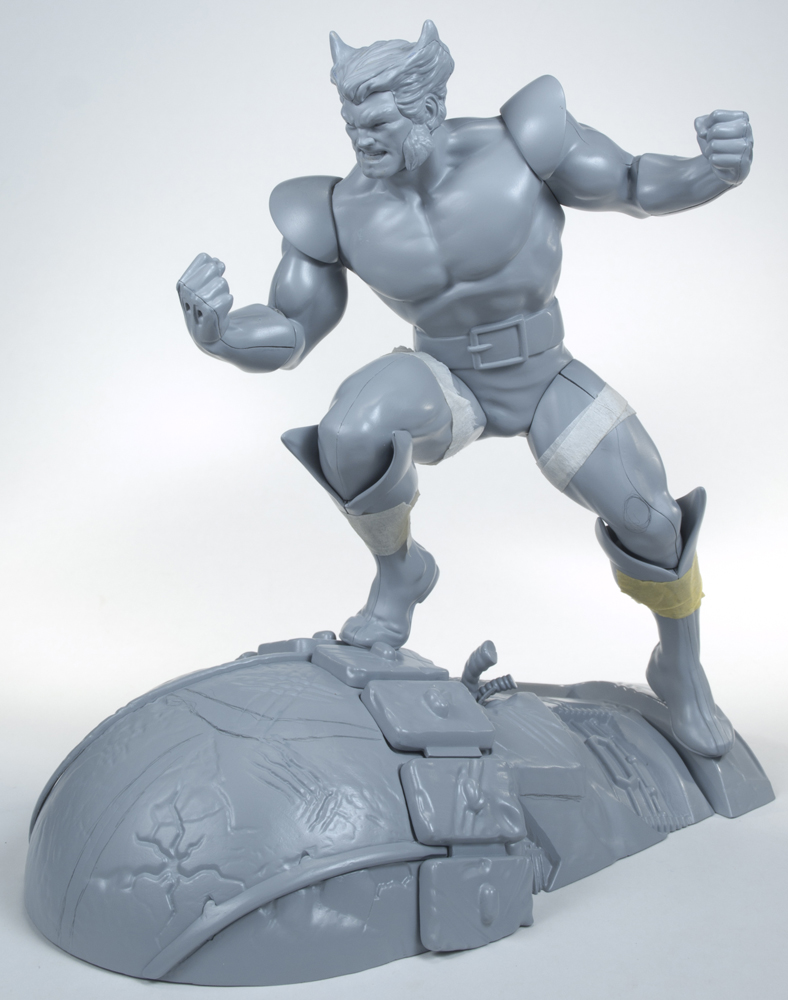
Once the digital sculpt was done, the model was processed and we had a rapid prototype built for Wonderfest. We then sent both the files and prototype to the factory. They made the decision to use the digital files for the figure and the prototype to create the base. I am guess thing they went this route because the base looked more… irregular in that it was a mechanical object that had been battle damaged. With some “artifacts” in the RP, it looked even more beaten that we had intended.
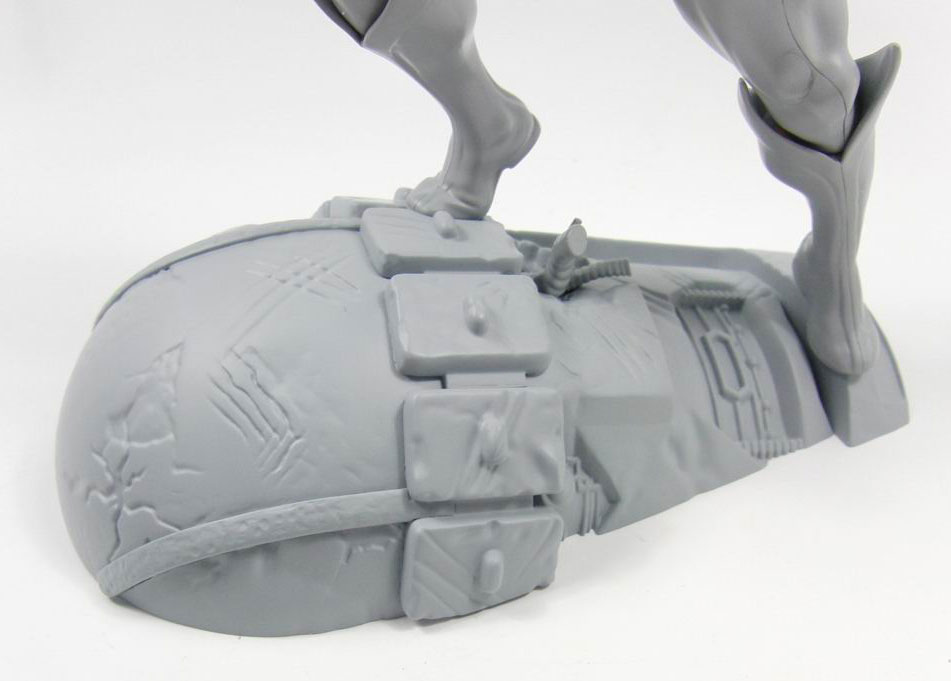
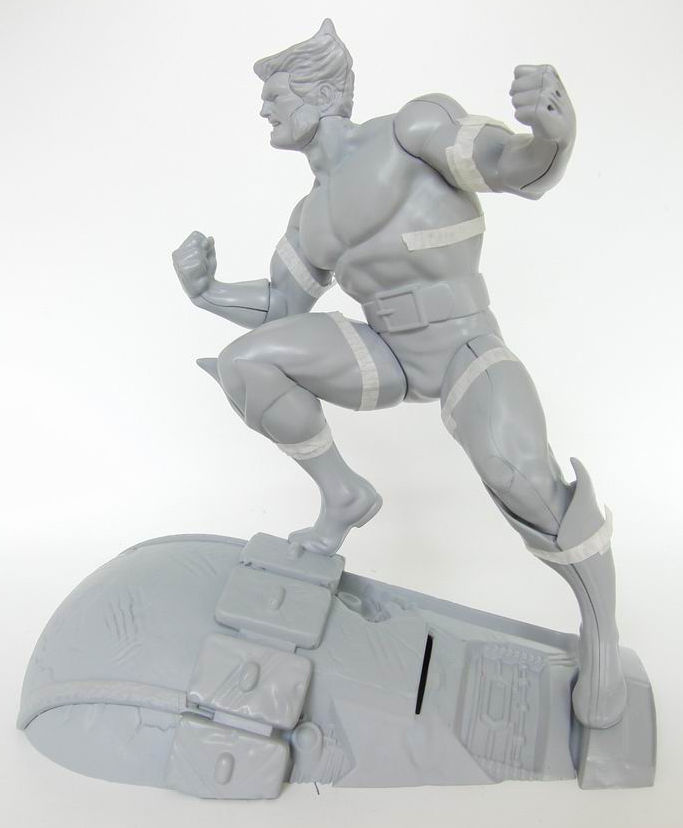
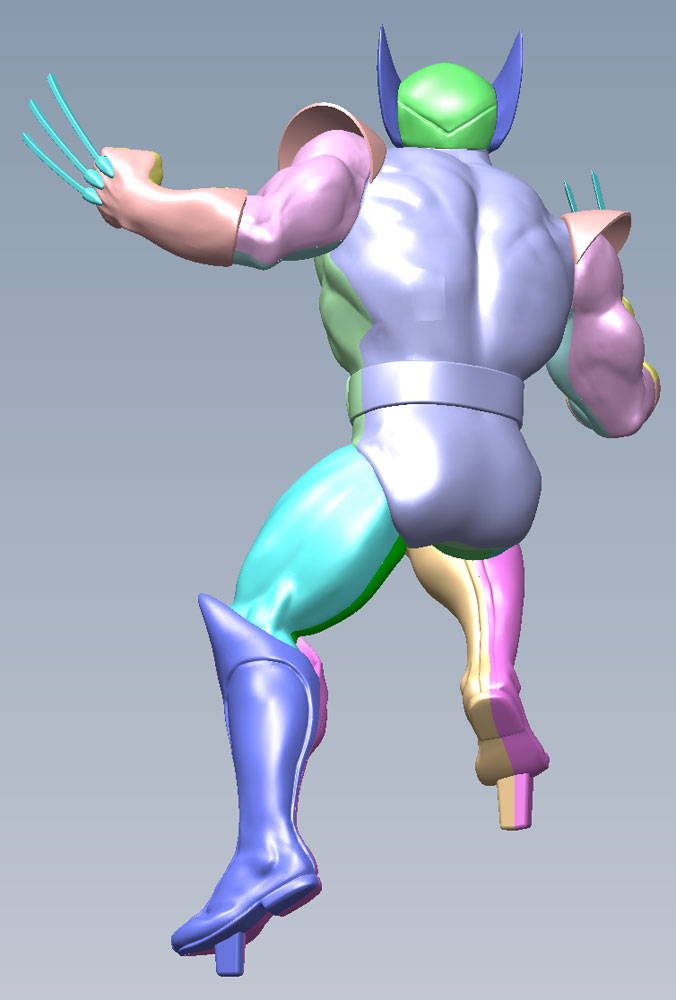
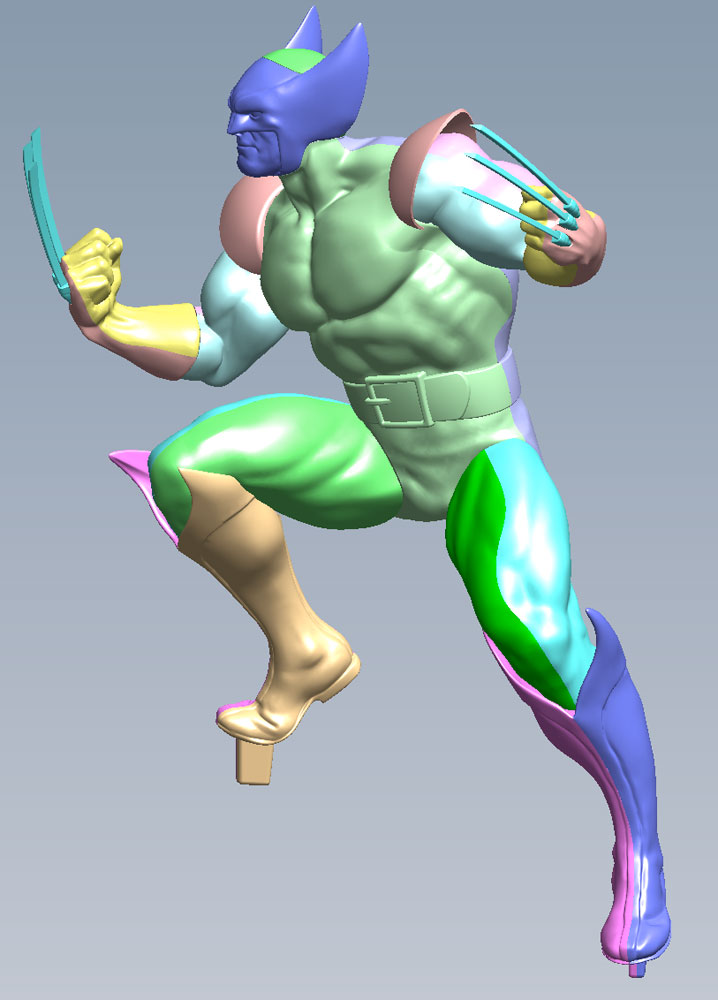
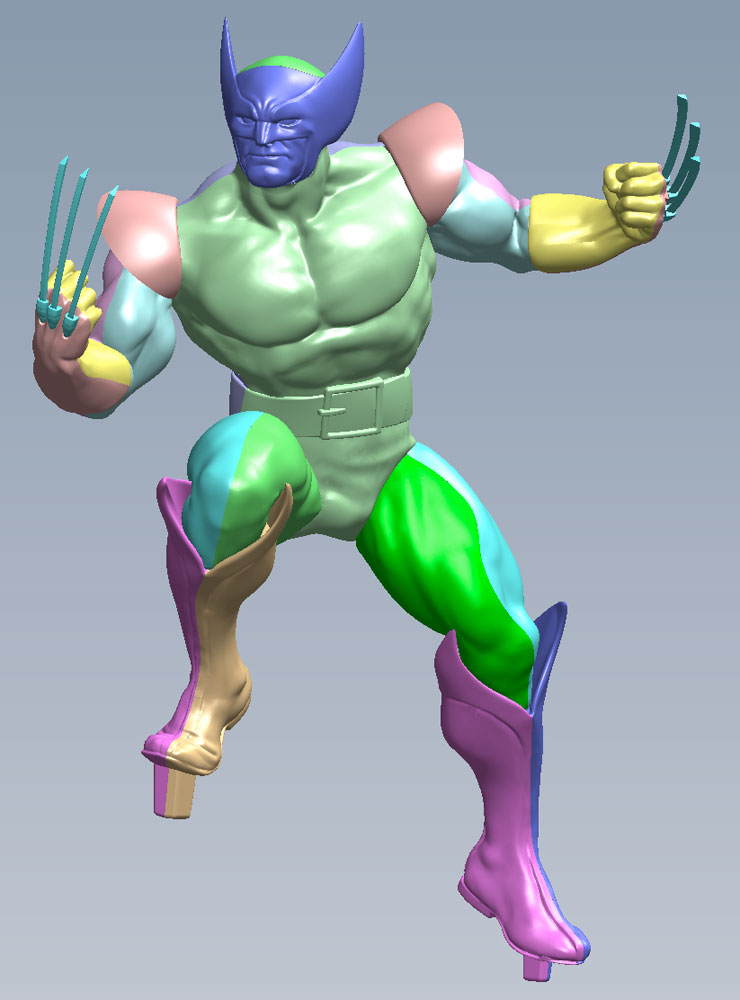
Sculpting for injection molding and for a rapid prototype or resin casting are different animals in that we can’t necessarily capture every single detail of the sculpt. A certain amount of revision needs to be made to alleviate mold-trapping problems. Another hurdle is that the person making the mockup is not an artist trained in understanding human anatomy. They don’t realize that shaving a bump off here or moving one there might be cause for concern. In the images of the mockup you can see a few spots where I circled a spot on his leg where they had shaved a muscle off to fix a trapping problem. Not the best solution, but that is why we do the mockup. This is the stage where all of these kinds of problems get worked out.
The colorful images shown are images captured from the factory’s digital mockup. With these files, I can explore the model by hiding or showing the parts and examining cross-section views. It allows me to turn it to virtually any angle. This gives me a clear idea of what to expect in the model.
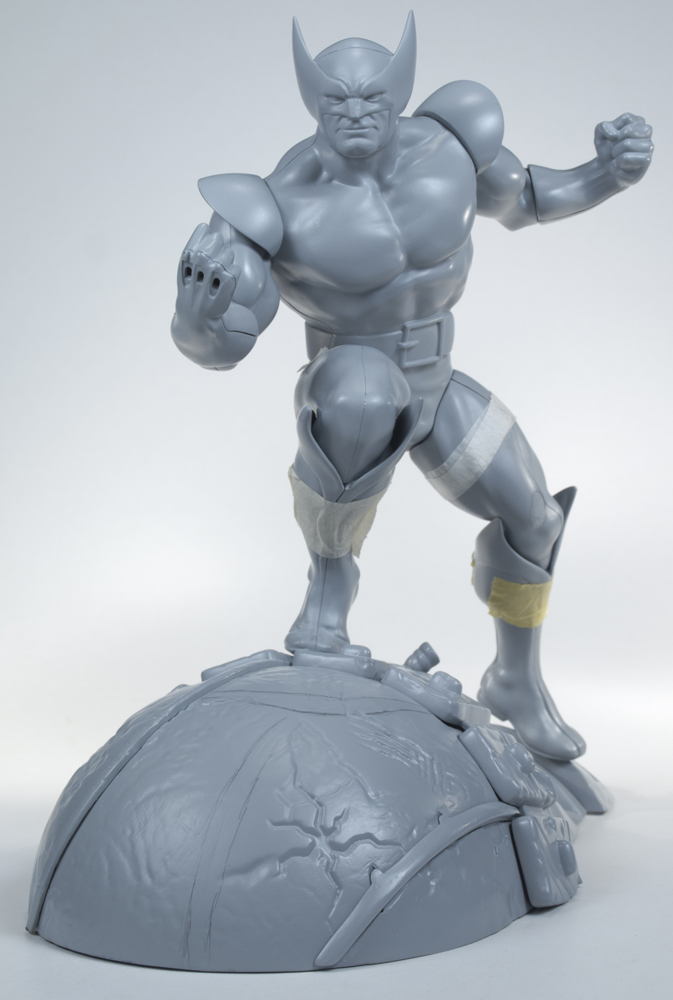
Once the digital 3D file is settled, the next stage is to make a full-blown mockup of the kit. This represents every aspect of the kit from size to assembly. There are always little things to tweak and change up. This kit was no different. Probably the biggest adjustment we made was to raise the angle of the head up a few degrees to keep him looking eye to eye with the viewer.
We should have some test shots of the kit around Christmas. I’ll be sure to post pics of that when I can.