Recommended Sites


Archive for June 11th, 2019
Space: 1999 Models: New 1/72 scale Eagle kit Pt. 3
Continuing our guest series reviewing the new 1/72 Eagle test shots.
Let’s Prep for the Future!
By E. James Small
Ok folks, when you build your new 1/72 scale Eagle, you’re going to want to think ahead. What if you need to add something later? What if a cool new optional accessory like… oh, I don’t know… say, a side booster set or something similar gets put on the market? You’ll want to access the inside of the passenger pod so that such an option can be attached with magnets, so you don’t have to glue those accessories to the pod permanently. Access to the inside will allow you to do so at a later date. Therefore, when you build the passenger pod on your Eagle, you might want to do it in the sequence shown…. (same goes for the 22” model too, frankly speaking!)
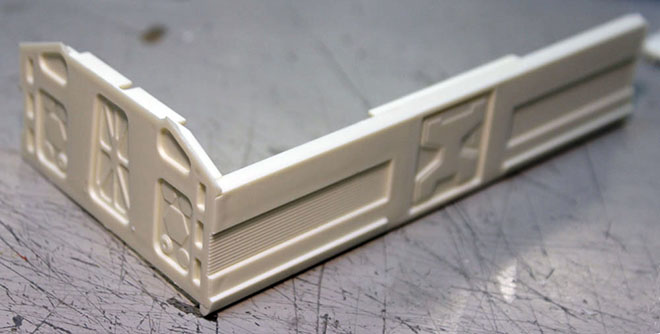
First assemble one side and end wall.
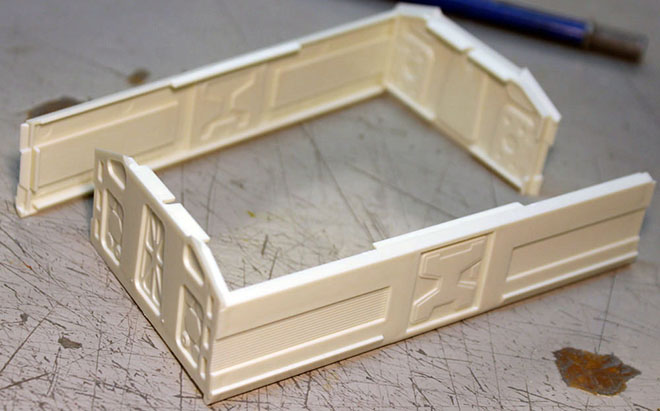
Then do the opposite two.
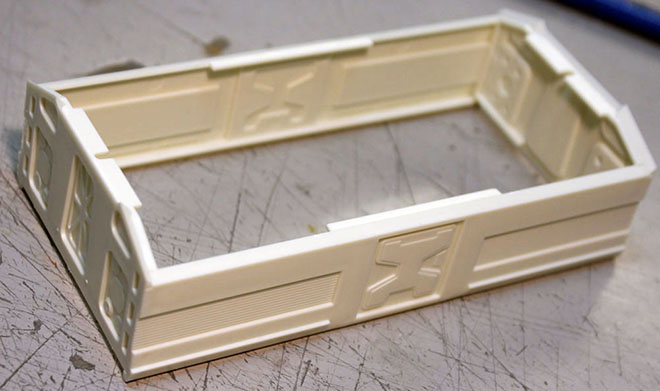
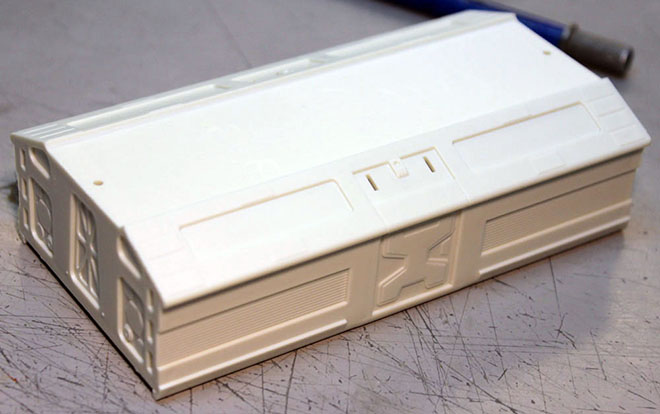
Then lastly add the roof.
Sand down the seams as needed. (Hint: Leave those two little square ribbed bits that go above the door off until your model is painted… much easier to paint them black separately and add them to the pod after you have finished all your painting! That’s why they were made as separate parts, and why they are not shown here!)
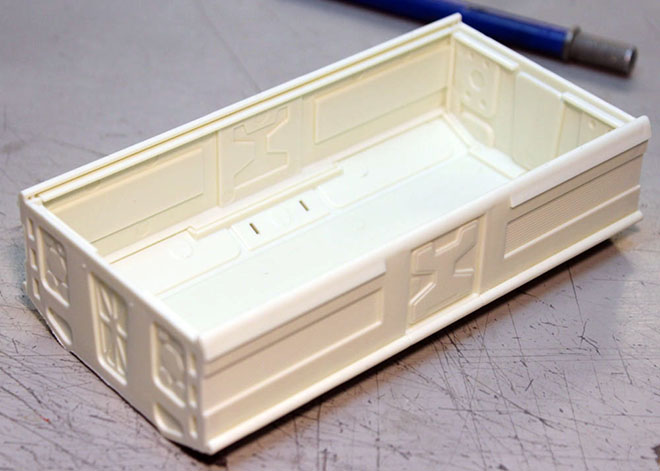
Put the floor on LAST! Why? well, before you put the floor on, you may want to consider allowing it to be removable so the inside can be accessed later as I mentioned above. You can do this by attaching the floor using magnets or screws. Yes, you’ll need to add something of your own design, such as gussets attached to the inside corners for the magnets and screws to mount to. So go ahead and devise your own way of making that floor non-permanent.
If you are careful when gluing your passenger pod walls together , you may find the floor to be a natural friction fit as well. so you may decide you don’t need magnets or screws, but don’t count on it. Friction fits are not always reliable.
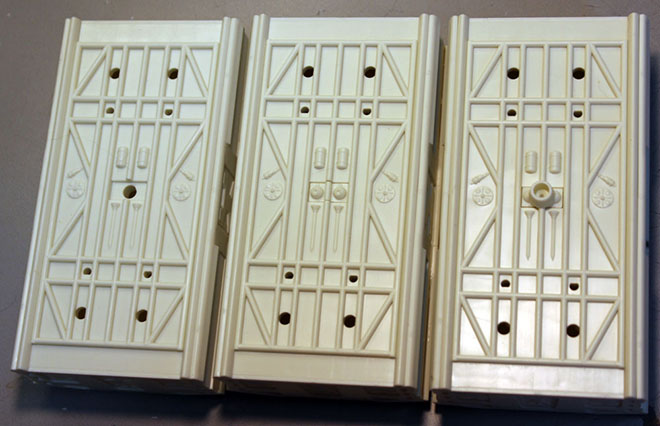
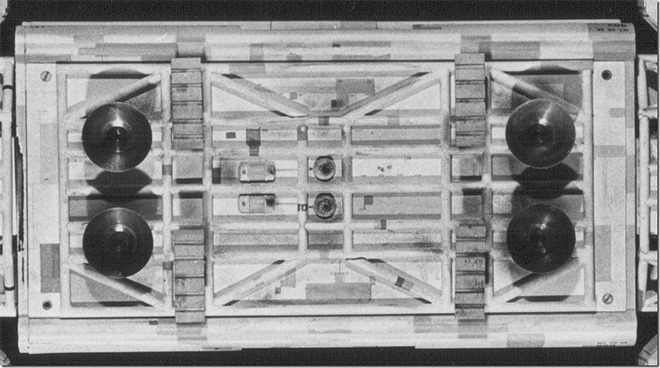
As you can see, the kit as it comes allows for the stand mount to be optional as well. By making the floor removable, that small centre bottom hatch can be more easily replaced if you want to swap them out as desired. See the three pods side by side? The hatches shown are most easily removed by pushing them out from the backside of the floor. By making the floor removable, you can make your model a lot more versatile! Heck, you could even get adventurous and put a lighting power supply and switch in there if you want to modify your model for lighting! So keep this in mind when you build your Eagle! Enjoy!