Recommended Sites


Archive for August 11th, 2016
Transforming the Classic MPC Eagle Kit – Part 3
Painting, Weathering, & Decals…
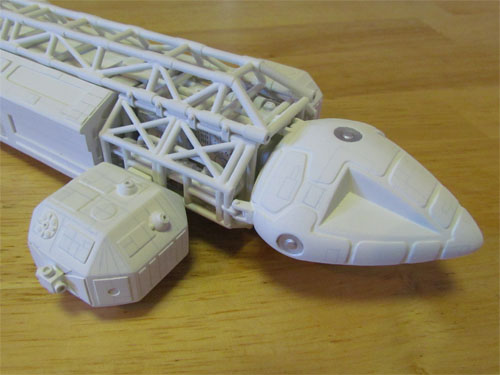
Not unlike the Star Trek original series Enterprise, the Eagle 1 studio model’s hull color has been a subject of debate among modelers. The paint/color that has become the most popular is an automotive paint, Ford Diamond White (FDW). The original Eagle 1, 44” studio model, was originally painted a plain white color but was later re-painted an off-white primer that’s the same shade as FDW.
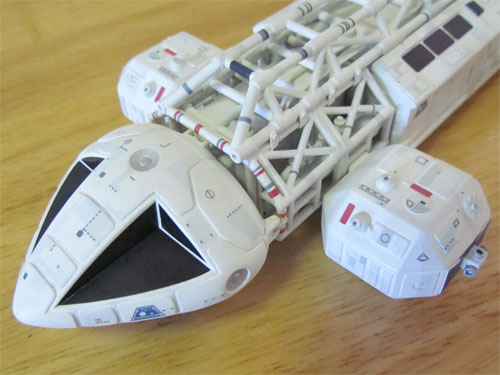
For this build I wanted to replicate the look of the Eagle in mid season 1, when it had the various gray and blue panels as well as the panel lines drawn on. This seems to be a popular look as I’ve seen many Eagle replicas painted this way and happens to be my favorite look for the Eagle.
A friend sent me a sample of FDW that I used to mix the color using Testors Acryl hobby paint. After speaking with someone who works with automotive paint I found that a greenish-yellow pigment is used in the FDW formula to make the off- white shade. I added a couple of small drops of (Testors) Yellow Zinc Chromate to Flat White and it’s an almost exact match to the FDW color sample.
The color appears to have a creamy appearance with just a very small hint of green under various lighting conditions. With this mix worked out for the hull color all that was needed was to scale down the amount of Yellow Zinc Chromate I was adding to the white. For a larger Eagle, 44” or even 22”, FDW looks right but for this smaller 12” Eagle the off-white color looks better with just a bit less yellow in the mix.
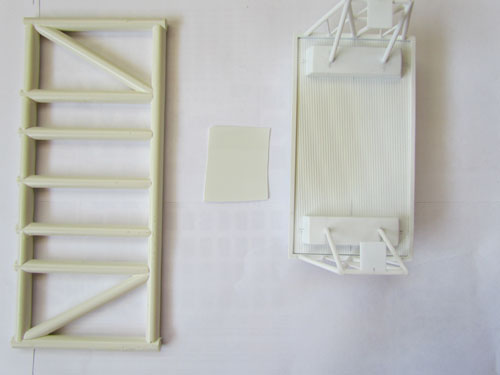
I really wanted the small technical marking decals for this build so I decided to try and make some using the program Illustrator.

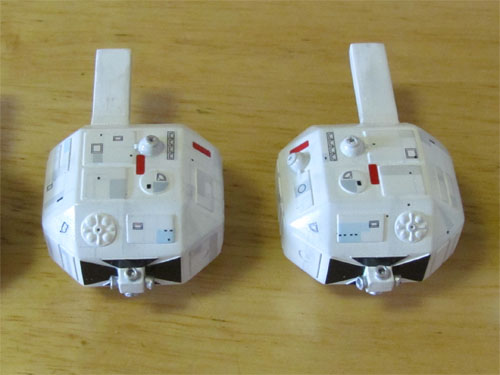
I’m still very new to using Illustrator but gave it a go. I studied reference images of the 44” Eagle 1 studio model and made the various markings as well as the windows and anti-glare panels for the resin CM and passenger pod. For the MPC kit’s CM I used the decals that came in the MPC 12” Eagle kit.
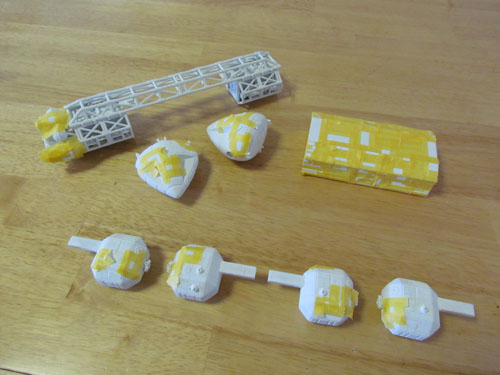
Now came the fun part… I sprayed the Eagle and all the various parts with the off-white hull color. After this, using reference pictures of the 44” studio model, I drew on all the panel lines with a pencil.
The hull color was then sprayed over the panel lines to blend them in to keep them more in scale.
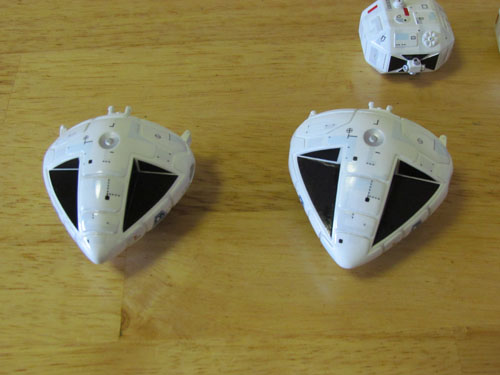
Using reference pictures, I started masking all the various gray and blue panels.
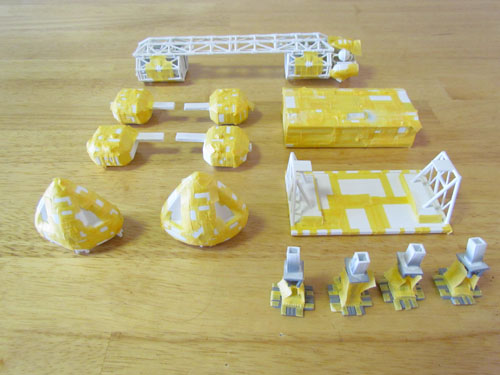
This image shows the gray and blue panels painted.
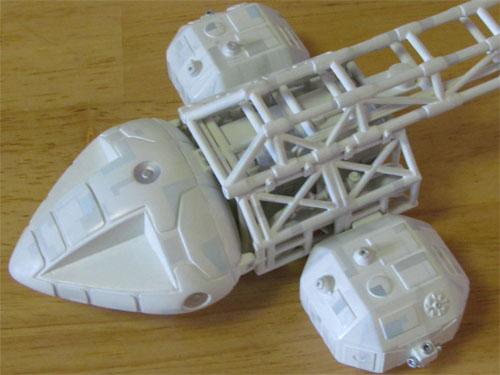
The decals were applied after the panels and small details were painted.
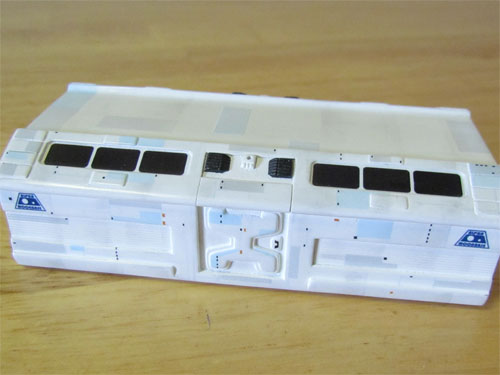
The model’s sections were weathered with dark gray pastel chalks and clear coated to seal it all in. I then sprayed a very thin, light mist coat of the off-white hull color over the decals for a more in scale look.
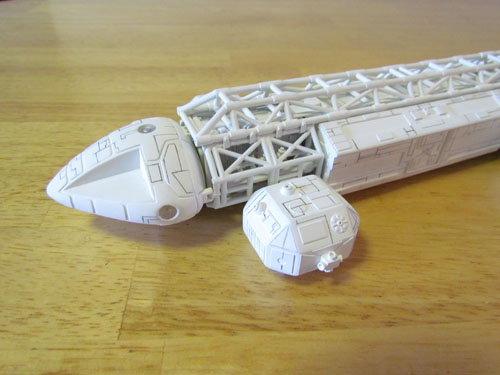
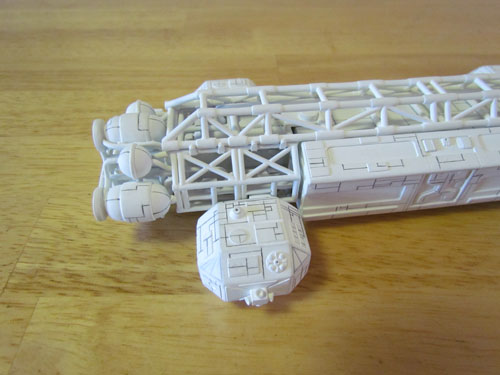
I sprayed Testors Create FX acrylic clear over the CM and passenger pod’s window decals, which I polished for a glass-like appearance. The windows were then masked when the final flat clear coat was applied. The landing gear was painted Testors Acryl Neutral Gray and the ‘toes’ on the main gear were masked and painted with the same Neutral Gray lightened with some Flat White.
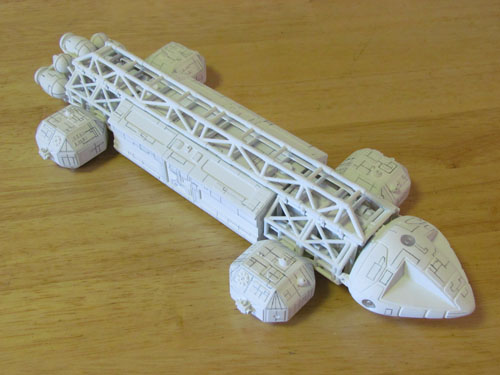
Painting and applying the decals was almost as big a job as the build, well almost. Including all the small technical markings and windows, there are approximately 425 decals applied.
This was an extremely fun project that also gave me an opportunity to learn more about the original 44” Eagle 1 studio model along the way. I’m happy to have this one completed.
I’d like to thank Jamie Hood and everyone at Round 2 for giving me the opportunity to share this on their site.
Michael Scarola
Next time… a batch of beauty shots of Michael’s finished model. -JH